Creating Motion Animations: An In-depth Guide to Producing Smooth and Lifelike Movements in DAZ Studio
Animation is much more than just moving a 3D figure from point A to point B. It’s a dynamic combination of timing, expression, physics, and artistry that, when executed correctly, can transform a static 3D model into a living, breathing character. DAZ Studio, well-known for its user-friendly interface and extensive library of assets, provides a powerful toolset for crafting compelling animations—even for those who are relatively new to the field. But to achieve truly convincing motion, you need more than just technical knowledge: you need an eye for detail, an understanding of real-world physics, and a passion for storytelling.
In this guide, we’ll explore how to create smooth, natural movements in DAZ Studio. We’ll delve into critical technical settings, discuss best practices for keyframing, and learn how to breathe life into your characters through subtle gestures and realistic body mechanics. So grab a comfortable seat, launch DAZ Studio, and let’s start turning your 3D scenes into expressive, animated narratives!
Before you read this article to the end, we remind you that our resource daz3dposerfree.com offers a huge number of resources for DAZ Studio and Poser for free download! These are great 3D character models for Genesis 9 and 8 Male & Female frameworks, clothes and hairstyles for them, environment scenes and thousands of props, poses and animations, add-ons and resources and much more. Add our site to your browser bookmarks and check back often - we update our content base regularly!
1. Understanding the Basics of DAZ Studio Animation
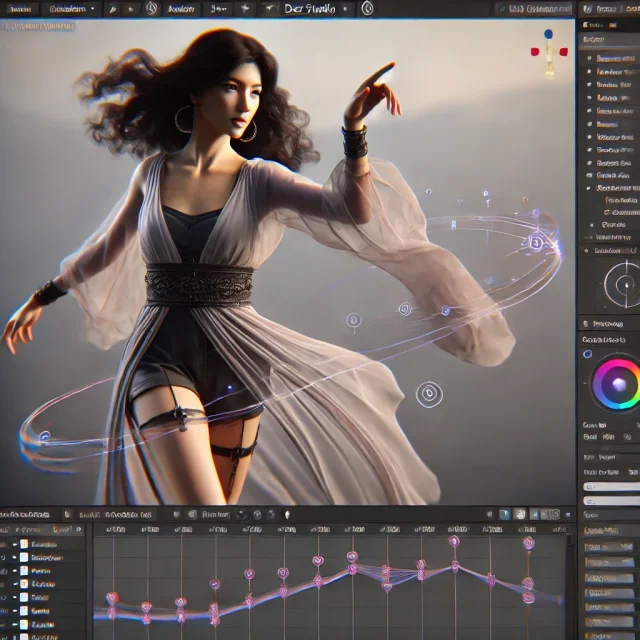
DAZ Studio is known primarily for rendering still images and customizing 3D figures, but its animation capabilities are both robust and intuitive once you know how to leverage them. At the core of these capabilities lies the Timeline panel, keyframes, and interpolation curves.
- Keyframes: “Snapshots” of your character’s pose or property settings at specific frames.
- Timeline: The linear interface where keyframes are placed, allowing you to scrub through your animation.
- Interpolation (or “tweening”): The process by which DAZ Studio automatically transitions from one keyframe to the next.
By learning these fundamentals, you’re already one step closer to weaving motion into the fabric of your scenes. If you’re new to DAZ Studio, be sure to explore its basic tutorials and documentation, which can help you grasp the basics of rigging, figure movement, and file management before you dive headfirst into animation.
2. Choosing and Preparing Your Character
Before you commit to complex animated sequences, you need a character model that’s well-suited to your intended action. Does your story call for a graceful ballet dancer, or a hardened warrior brandishing a medieval sword? The right choice of figure is vital for conveying the mood and logic behind your animation.
- Character Library: Start with Genesis 8 or Genesis 9 figures as they’re highly customizable and have well-structured joint rigs.
- Topology Check: Make sure the model’s mesh is clean and free of major deformations, especially around joints such as shoulders and knees.
- Rig Evaluation: Verify that the figure’s bone hierarchy is correct, so that arms, legs, and spine move realistically without unwanted distortions.
If you’re looking for additional models that better match your specific theme or storyline, be sure to explore new characters for DAZ Studio and Poser. This resource includes free, ready-to-download figures that can spark fresh ideas for your next animation project. Sometimes, a new character’s look or personality can inspire an entire story arc, making your animation process more exciting and fulfilling.
3. Configuring the Timeline and Project Settings
Once you have your character in place, it’s time to set up the foundation for your animation. Proper project settings not only ensure smoother playback during preview, but also guarantee a more predictable final outcome.
3.1 Frame Rate and Total Frames
- Frame Rate (FPS): Common choices are 24 fps (cinematic), 30 fps (TV broadcast), or 60 fps (high frame-rate). For highly detailed movements, 60 fps might give you more refinement, but it will also require more keyframes and computing power.
- Total Frames: Determine how long your shot will be. If your character’s movement lasts 5 seconds at 30 fps, you’ll need 150 frames (30 x 5 = 150).
3.2 Timeline Basics
- Timeline Scrubbing: Drag the playhead along the timeline to see how your animation looks at various frames.
- Auto Key: Decide if you want to keep “Auto Key” on. It can speed up the process by automatically adding keyframes when you make changes, but you should stay vigilant to avoid unintentional key placement.
3.3 Scene Optimization
- Hide Unnecessary Objects: Decrease viewport lag by making non-essential geometry invisible while animating.
- Lighting Simplification: Complex lighting setups can slow down real-time playback. Consider using simpler lights or turning off shadows until your final render.
4. Setting Up Initial Poses and Keyframes
Smooth animation starts with a clear understanding of what poses define each critical point in your character’s motion. These “key poses” encapsulate the main story beats or emotional highlights of your scene.
4.1 Storyboarding in 3D
Although it might sound overly elaborate, creating a quick storyboard in your mind—or even on paper—helps keep your animation coherent. Plan the start pose, the intermediate poses (where major action changes occur), and the final pose.
4.2 Placing the First Keyframe
- Go to Frame 0 (or Frame 1, depending on preference).
- Set your figure in a baseline pose (neutral, ready, or however the motion should begin).
- Click “Create Keyframe” or use “Auto Key” to lock in this pose.
4.3 Blocking Out Major Movements
- Skip ahead on the timeline to where the next big movement occurs (e.g., your character leaning forward, raising an arm, turning a head).
- Pose your character in this next key moment.
- DAZ Studio will interpolate frames in between, creating an initial “rough cut” of your animation.
If you’re short on time but still want a variety of dynamic poses, check out poses and expressions for DAZ Studio and Poser. These ready-to-use presets can save you hours of manual positioning and provide a starting point to refine further.
5. Refining Movement with GraphMate and KeyMate
5.1 Introduction to Animation Curves
In DAZ Studio, your animation data can be viewed and tweaked via two main tools: GraphMate and KeyMate. GraphMate allows you to work with function curves (also called F-Curves), while KeyMate offers a more direct keyframe management interface.
- Linear Interpolation: Produces straight, abrupt transitions between keyframes—best for mechanical motions or stylized animation.
- Bezier/TCB: Smooth transitions, ideal for organic motion. These splines let you define how quickly a parameter transitions in or out of a keyframe.
- Stepped Keys: Often used in “blocking” stages of animation, making each transition instantaneous—helpful for rough drafting or “pose to pose” workflows.
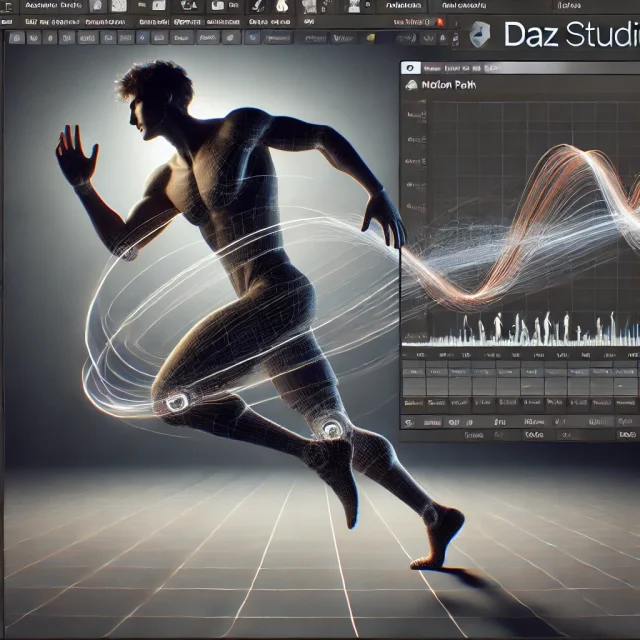
5.2 Adjusting Curves for Realism
Real human or animal movements rarely accelerate or decelerate instantly. Pay attention to natural easing in and out of poses, especially for large muscle groups like arms, legs, and the torso.
- Slow In/Slow Out: Characters typically ease into a motion and ease out as they come to rest. Fine-tune curve tangents to achieve this effect.
- Overshoot and Settle: Physical movements often exceed the target slightly before coming back (think of how you might lean too far and then stabilize).
- Anticipation and Follow-through: Characters prepare for big actions (wind-up before throwing) and have trailing movement afterward (hair, clothing, or even limbs).
5.3 Troubleshooting Common Curve Issues
- “Hitch” or “Pop”: If a limb or torso “pops” abruptly, check whether two consecutive keyframes are placed too close together, or if your tangents conflict.
- Overshoot Artifacts: Be aware that some TCB or Bezier settings might produce unwanted overshoot. Adjust tension, continuity, and bias to correct these anomalies.
- Mixed Interpolations: Using multiple interpolation types can cause unpredictable transitions. Try to remain consistent across the timeline.
6. Layering Animation and Using Puppeteer
DAZ Studio includes additional tools that can greatly enhance your animation workflow. One of the most interesting is Puppeteer. This system lets you record transitions between multiple poses in real-time—great for facial animation or subtle body nuances.
6.1 Creating Animation Layers
If you want to separate major motion from smaller refinements, some workflows utilize layers (though this functionality can be more limited compared to specialized animation software). Layers can help you keep large movements (like walking) distinct from secondary movements (like breathing, fidgeting, or blinking).
6.2 Puppeteer for Blending Poses
- Set up a series of target poses on the Puppeteer grid.
- As you move your cursor across this grid, DAZ Studio interpolates the figure’s transition between those target poses in real-time.
- Record these transitions into your timeline for quick, yet organically blended animations.
7. Enhancing Motion with dForce and Other Physics Tools
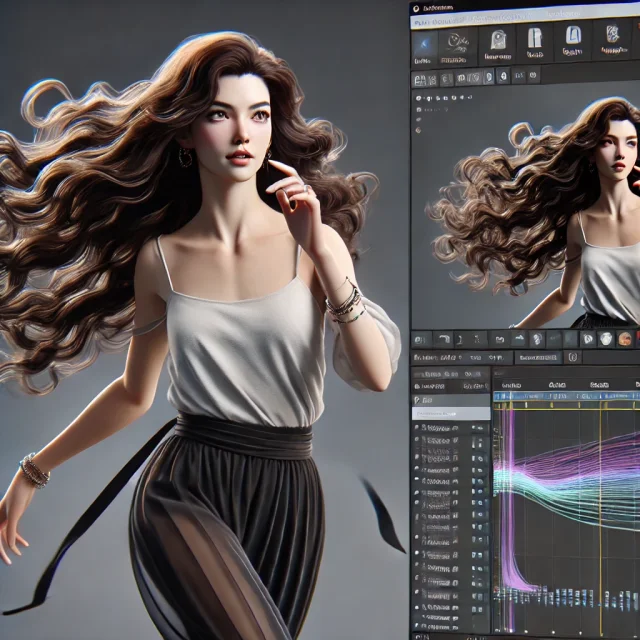
7.1 dForce Simulation for Clothing and Hair
Clothing and hair simulations add a remarkable degree of authenticity to your animation. Instead of staying rigid in place, garments can drape and flow, reacting to the character’s movement and gravity.
7.1.1 Getting Started with dForce
- Convert or load an item compatible with dForce.
- Assign your chosen surface settings, adjusting parameters like Density, Bend Stiffness, and Stretch Resistance.
- Set up your timeline, making sure the garment is not intersecting the figure at the start.
- Run a simulate command to watch your clothes settle and respond to motion.
7.1.2 Troubleshooting Simulations
- Exploding Mesh: Often caused by excessive stretching or collisions. Lowering stiffness or adjusting collisions can help.
- Penetration Issues: If a figure’s limb passes through cloth, consider minor pose adjustments or increasing collision iteration counts.
- Performance Lag: dForce simulations can be resource-intensive. Close other applications or simplify your scene for faster results.
7.2 Additional Physics Options
DAZ Studio doesn’t natively offer a robust rigid-body physics system, but creative use of the timeline and morphs can mimic various physical behaviors, such as bouncing objects or swinging props. Some advanced users employ scripts or external tools to generate more elaborate physical interactions. Regardless of your approach, small dynamic touches—like a gently swinging pendant—can elevate the realism of your animation.
8. Polishing Your Animation and Adding Final Touches
Now that you have a mostly complete animation, it’s time for the finishing polish. Small details often differentiate a passable animation from a truly immersive one.
8.1 Reviewing from Multiple Angles
In the Perspective view, your motion may seem flawless, but a side or top view might reveal intersections or unnatural arcs in the limbs. Rotate your camera around the character to spot these issues early.
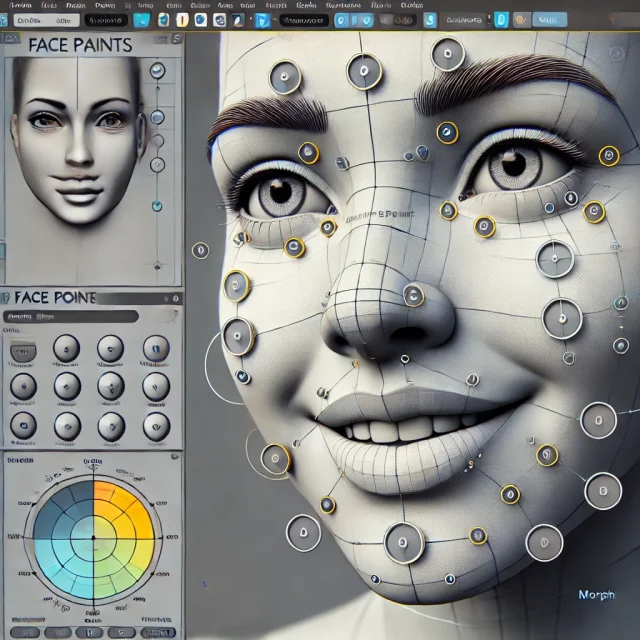
8.2 Fine-tuning Expressions
- Subtle Eye Movement: Characters rarely keep their eyes locked in one spot. Introduce slight shifts to replicate natural human behavior.
- Micro-Expressions: A half-smile or slight eyebrow twitch can make a reaction more realistic.
- Blink Timings: The frequency and timing of blinks can convey nervousness, calmness, or surprise.
8.3 Adding Secondary Actions
- Torso Twist: When arms move, the torso usually twists slightly to counterbalance.
- Finger Interactions: Simple open/close animations look robotic. Let the fingers spread out or curl slightly.
- Weight Shifts: A standing character doesn’t remain perfectly still. Tiny shifts in balance help portray life.
8.4 Refining the Timing
Sometimes, a single second or even a few frames can make or break the sense of realism. If a punch or turn of the head seems delayed, consider either moving the keyframes closer or using the GraphMate to adjust the speed of transitions.
9. Rendering and Exporting the Final Animation
With your animation polished, you’ll likely want to either render it as a video or export it to another platform.
9.1 Render Settings
- Renderer: Choose between Iray or 3Delight. Iray offers photorealism but may require a stronger GPU.
- Quality vs. Time: Higher samples and better lighting produce stunning visuals but can drastically increase render times.
- Resolution: Common standards are 1080p (1920 x 1080) or 4K (3840 x 2160) if your hardware can handle it.
9.2 Export Formats
- Image Sequence: Rendering frame-by-frame offers more control in post-production.
- Movie (AVI, MPEG-4, etc.): Convenient for quick previews.
- FBX/DAE Export: If you plan on using the animation in game engines or other 3D software, exporting motion data might be preferable.
9.3 Post-Processing and Editing
- Compositing Software: Tools like Adobe After Effects or DaVinci Resolve can add special effects or color grading.
- Audio Sync: If your scene includes dialogue or sound effects, integrate them in post for best results.
- Final Polishing: Sometimes minor camera shake or lens flares can enhance the cinematic feel.
10. Advanced Tips and Final Thoughts
Mastering animation is an ongoing journey. Every new project reveals something you didn’t know before—whether it’s an advanced rigging trick, a nuance of facial morphs, or the perfect approach to adding micro-expression.
10.1 Motion Capture Integration
If you have access to motion capture data, DAZ Studio can import BVH or other supported file formats, letting you adapt real-world movements to your DAZ figures. This approach drastically speeds up the workflow but typically requires post-processing to blend transitions and correct offsets.
10.2 Aniblocks and Animate2
DAZ Studio also supports Animate2—a plugin that uses “aniblocks.” These are preset motion clips (e.g., walks, runs, dances) that you can string together on the timeline, mixing and matching to create longer sequences. While aniblocks can be a huge timesaver, you still need to refine transitions and polish details for them to look completely natural.
10.3 Stay Inspired, Keep Learning
- Reference Footage: Observe real-world actions. Use slow-motion videos to catch the subtleties of body mechanics.
- Community Resources: Forums, tutorials, and user groups are invaluable for troubleshooting and inspiration.
- Practice: Experiment with short animated loops, lip-sync challenges, or dynamic action scenes to sharpen your skills.
Conclusion
Crafting believable animation in DAZ Studio is a perfect blend of technical finesse and artistic intuition. By carefully planning your keyframes, refining interpolation curves, utilizing tools like Puppeteer and dForce, and paying attention to those subtle secondary motions, you’ll be well on your way to producing animations that captivate audiences and breathe new life into your characters.
Whether you’re just starting out or you’re a seasoned digital artist looking for a fresh perspective, DAZ Studio offers a user-friendly yet powerful environment to realize your creative visions. With patience and experimentation, each animation you produce will feel increasingly fluid, expressive, and engaging. And if you ever find yourself seeking fresh inspiration or specialized poses, remember to check out free characters for DAZ Studio and Poser and realistic poses and expressions for DAZ Studio and Poser. These resources can spark new ideas and save you hours of work, so you can focus on what truly matters: telling your story through compelling, lifelike movement.
In the end, the essence of animation lies in imbuing static creations with vitality and emotion. DAZ Studio provides the canvas and the brushes, but your imagination and dedication are what truly make each frame come alive. So keep refining your skills, pushing the boundaries of what’s possible, and sharing your animated tales with the world. As you continue to master the art of movement, you’ll discover the true magic of seeing characters step off the screen as if they were living, breathing beings, ready to captivate and inspire.
Ctrl
Enter
Noticed a misTake
Highlight text and press Ctrl+EnterRelated news:

Top Character Animation Tools in 2024

Transforming Static 3D Scenes into Animations: How to Bring Your Projects to Life in Poser Using Skeletal Animation
Creating Motion and Emotion Animations for 3D Characters in DAZ Studio and Poser

How to Create Complex Dynamic Hair in DAZ Studio and Poser Using Plugins and Custom Settings

Creating Characters for VR and AR Projects Using DAZ Studio and Poser: Practical Optimization Tips
Integration of DAZ Studio and Poser with Other 3D Packages: Discussion of Import and Export Processes and Techniques
Comments (0)