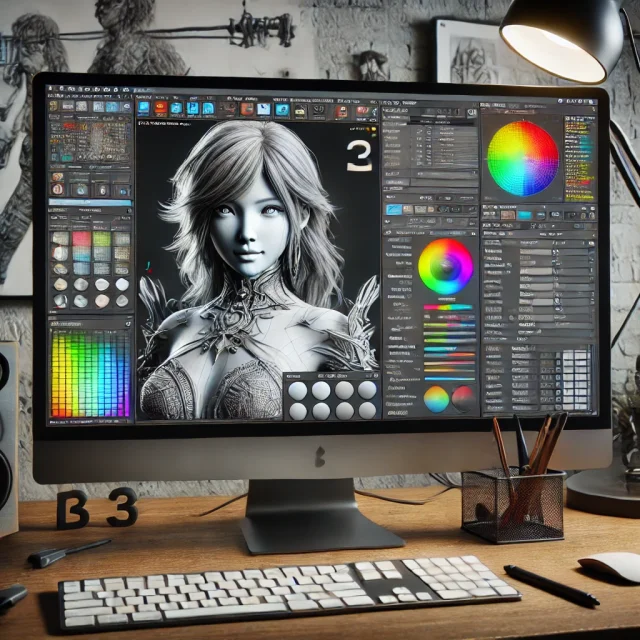
Creating Photorealistic Portraits in DAZ Studio and Poser

Photorealism in 3D graphics is the art of creating images that are almost indistinguishable from real photographs. When it comes to portraits, the importance of detail becomes even more apparent: every pixel, every texture, and every shadow can impact the final result. In this article, we will explore how to create photorealistic portraits using DAZ Studio and Poser by walking through the essential steps of setting up lighting, textures, and post-processing.
Setting Up the Base Model
The first step to creating a photorealistic portrait is choosing and setting up a base model. DAZ Studio and Poser offer extensive libraries of pre-made characters that can serve as excellent starting points. Select a model with the highest level of detail and quality textures.
Model Setup:
- Face Morphing: Use morphing tools to adjust the unique features of the face. Pay close attention to details such as the shape of the eyes, nose, and lips to give the model individuality.
- Skin: Apply high-quality skin textures. In DAZ Studio, you can use PBR (Physical Based Rendering) textures that include normal maps, displacement maps, and others to add realism.
The Magic of Lighting
Lighting plays a crucial role in creating a photorealistic portrait. Proper lighting can highlight details and create the necessary atmosphere.
Main Types of Lighting:
- Key Light: The primary light source that illuminates the model. It is usually placed at an angle to the face to create natural shadows.
- Fill Light: Complements the key light by softening the shadows and adding volume. It is placed on the opposite side of the key light.
- Rim Light: Positioned behind the model to create a contour light that highlights the model against the background.
Lighting Setup:
- In DAZ Studio, use HDRI maps to create natural lighting. These maps provide environment lighting and reflections.
- Experiment with light temperature and intensity. Warm light (yellowish hue) adds coziness to the portrait, while cool light (bluish hue) gives a more dramatic look.
Working with Textures
Textures are what turn a model into a work of art. High-quality textures for skin, eyes, hair, and clothing make the portrait come alive.
Skin:
- Normal and Displacement Maps: These maps add fine details such as pores and wrinkles, which are crucial for photorealism.
- Subsurface Scattering: This effect allows light to penetrate the surface of the skin and scatter within, giving it softness and realism.
Eyes:
- Eyes are the windows to the soul, and for their realism, reflections and details of the iris are important. Use highly detailed textures and set up reflections.
Hair:
- Hair can be challenging to render, but using strand-based hair in DAZ Studio can achieve excellent results. Adjust the density and texture of the hair for realism.
Rendering and Post-Processing
Rendering is the final stage where the final image is created. It is important to correctly set up the render engine and apply post-processing to achieve photorealism.
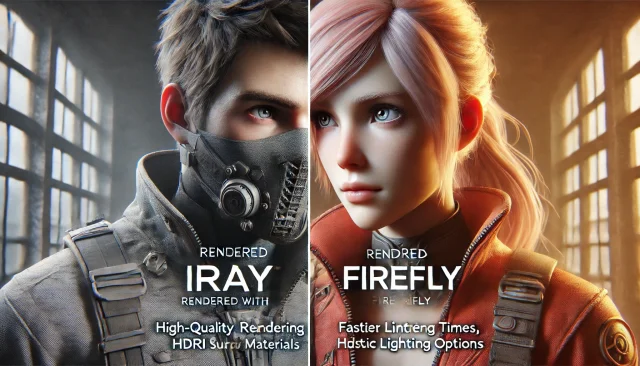
Render Engines:
- Iray (DAZ Studio): Iray is a physically accurate render engine that uses global illumination and ray tracing techniques. It allows achieving highly realistic results. Adjust the rendering settings such as the number of passes and lighting settings for maximum quality.
- Firefly and SuperFly (Poser): Both render engines offer powerful tools for creating realistic images. SuperFly, based on Cycles technology, supports physically accurate lighting and shaders.
Post-Processing:
- Use post-processing programs such as Adobe Photoshop or GIMP to enhance the final image. You can adjust colors, add vignetting, and improve sharpness.
- Light and Shadow Correction: Enhance key elements of the portrait by improving contrast and brightness.
Practical Tips and Tricks
- Details: Attention to small details is the key to photorealism. Add minor elements such as eyebrows, eyelashes, and lip texture.
- References: Use real photographs as references for lighting and texture settings. This will help you understand how light interacts with the skin and other materials.
- Emotions: Portraits should convey emotions. Work on facial expressions and poses to make your character look alive and natural.
Advanced Techniques for Photorealism
To further enhance the realism of your portraits, consider integrating advanced techniques and tools available in DAZ Studio and Poser.
Micro-Detail Texturing:
- Use high-resolution displacement maps to add micro-details to the skin. This can include fine lines, pores, and subtle imperfections that make the skin look more natural.
- Combine different texture maps (specular, roughness, and bump maps) to achieve a multi-layered effect that enhances the depth and realism of the skin.
Realistic Eye Shaders:
- Utilize advanced eye shaders that simulate the reflective and refractive properties of real eyes. Adjust the cornea and sclera settings to capture the natural look of light passing through the eye.
- Implement tear line textures to add a touch of moisture around the eyes, enhancing the realistic appearance.
Dynamic Hair Simulation:
- Experiment with dynamic hair systems that simulate natural hair movement and physics. This adds a level of realism, especially for animated sequences.
- Use hair shaders that replicate the light scattering through hair strands, providing a natural shine and texture.
Clothing and Fabric Details:
- Apply realistic fabric shaders that simulate the behavior of different materials, such as silk, cotton, and leather. Adjust the cloth dynamics settings to ensure natural folds and wrinkles.
- Add stitching details and fabric textures to enhance the authenticity of clothing items.
Enhancing Realism with Environmental Context
Incorporating environmental elements can significantly boost the realism of your portraits by providing context and interaction between the character and their surroundings.
Background and Environment:
- Choose a background that complements the character and adds depth to the portrait. Use HDRI environments for realistic reflections and lighting.
- Add subtle environmental details such as fog, dust, or light rays to create a more immersive scene.
Interaction with Props:
- Include props that the character can interact with, such as glasses, jewelry, or hats. Ensure that these props have realistic textures and shaders to match the overall quality of the portrait.
- Pay attention to the shadows and reflections that props cast on the character, as this interaction adds to the believability of the scene.

In Conclusion
Creating photorealistic portraits in DAZ Studio and Poser is a complex but rewarding process. Each stage requires attention to detail and the use of advanced technologies. With the right setup of lighting, textures, and post-processing, you can create portraits that are hard to distinguish from photographs. Experiment, learn, and refine your skills, and your portrait will surely shine with realism.
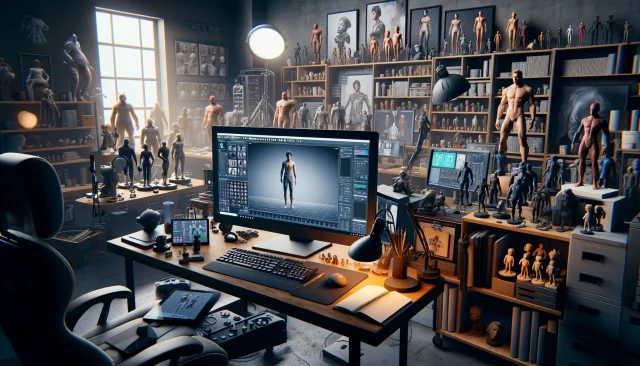
For those looking to speed up the process of creating photorealistic portraits, our website offers a section with ready-made 3D characters for DAZ Studio and Poser - check link. You can download them for free and immediately start working on your projects. We also offer a category with 3D models of creatures, animals, and monsters ready for use in your scenes. All this is available on our website.
Ctrl
Enter
Noticed a misTake
Highlight text and press Ctrl+EnterRelated news:
Advanced Post-Processing Techniques for Renders in DAZ Studio and Poser

Creating and Adjusting Lighting for Atmospheric 3D Scenes in DAZ Studio and Poser

How to create environments for 3D scenes in DAZ Studio and Poser: general guidelines
Using Iray and Firefly for Rendering in DAZ Studio and Poser
Creating Environments in DAZ Studio: How to Use HDRI and 3D Models to Build Atmospheric Scenes
Analyzing Trends in Creating 3D Characters for Films and Video Games
Comments (0)