Advanced Texturing Techniques in DAZ Studio and Poser
Texturing in 3D graphics is one of the key stages in creating realistic models and scenes. In DAZ Studio and Poser, there are advanced techniques that allow for a high level of detail and realism. In this article, we will explore methods for creating complex and realistic textures for 3D characters, including the use of substance texturing and normal maps.
Utilizing Substance Texturing
Substance texturing is a method of creating textures that generates complex materials, taking into account their microstructure and behavior under light. One of the most popular tools for this is Substance Painter by Adobe. Let’s take a closer look at how to use this tool for texturing in DAZ Studio and Poser.
- Importing the Model: Start by importing your 3D model into Substance Painter. Export the model from DAZ Studio or Poser in OBJ or FBX format and load it into Substance Painter.
- Creating Base Textures: Begin with creating base textures. Substance Painter offers a large number of preset materials that can be used as a foundation. For example, for skin, you can choose the Skin Base material.
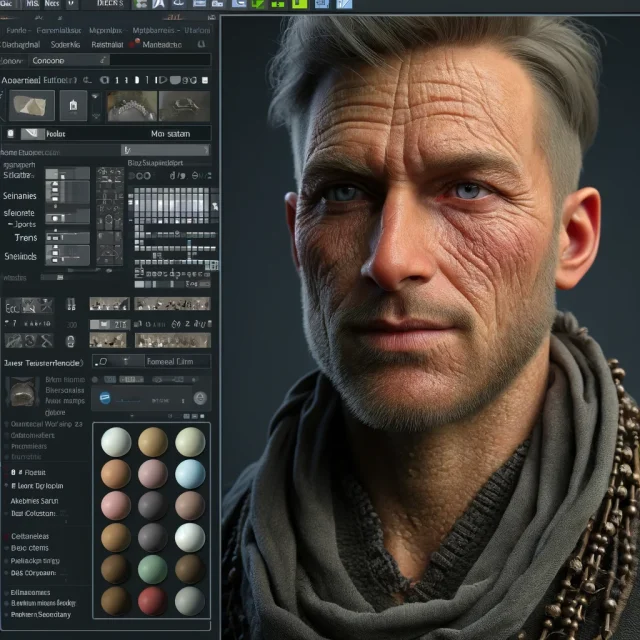
- Detailing: After applying base textures, proceed to detailing. Use brushes and masks to add fine details such as pores, wrinkles, freckles, etc. It is crucial to consider the anatomical features of your character to make the textures look realistic.
- Layers and Effects: Use layers to overlay various textures and effects. For example, you can add a layer of dirt or sweat to make the character appear more lifelike. Substance Painter has the ability to apply effects such as Ambient Occlusion and Specular, which significantly enhance the realism of textures.
- Exporting Textures: After finishing the texturing process, export the textures in formats supported by DAZ Studio and Poser. Typically, these are PNG or JPEG formats for diffuse, normal, and specular maps.
Using Normal Maps
Normal maps are special textures used to create the illusion of fine details on the surface of a model without increasing the polygon count. They play a crucial role in creating realistic textures for 3D characters.
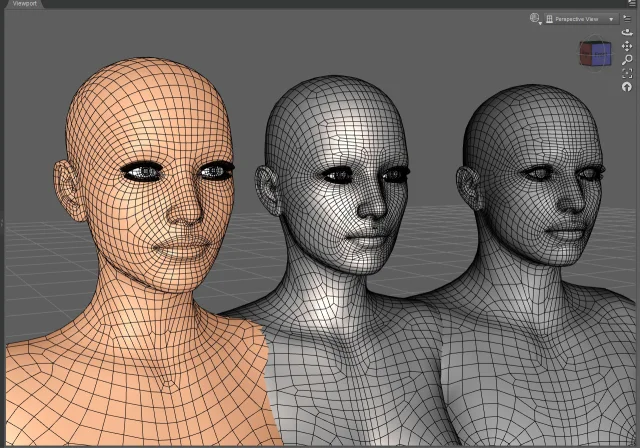
- Creating Normal Maps: Normal maps can be created in various ways. One of the simplest is to use a high-polygon model for generating the normals. In programs like ZBrush or Blender, create a detailed version of your model and use it to bake the normals.
- Importing Normal Maps into DAZ Studio and Poser: After creating normal maps, they need to be imported into your scene. In DAZ Studio, this is done through the Surfaces tab. Locate the section for normal maps and load the corresponding texture. In Poser, the process is similar and is done through the Material Room.
- Adjusting Parameters: Adjusting the normal map parameters is crucial to achieving the desired effect. In DAZ Studio, you can adjust the intensity of the normal map to achieve the desired depth and detail. Pay attention to the Bump Strength and Normal Map Strength parameters, which determine the impact of the normals on the model's surface.
- Combining with Other Maps: For maximum realism, combine normal maps with other types of maps, such as specular and diffuse maps. This allows you to create complex materials that react to light and the environment more realistically.
Advanced Techniques and Examples
To illustrate the capabilities of advanced texturing, let’s look at a few examples.
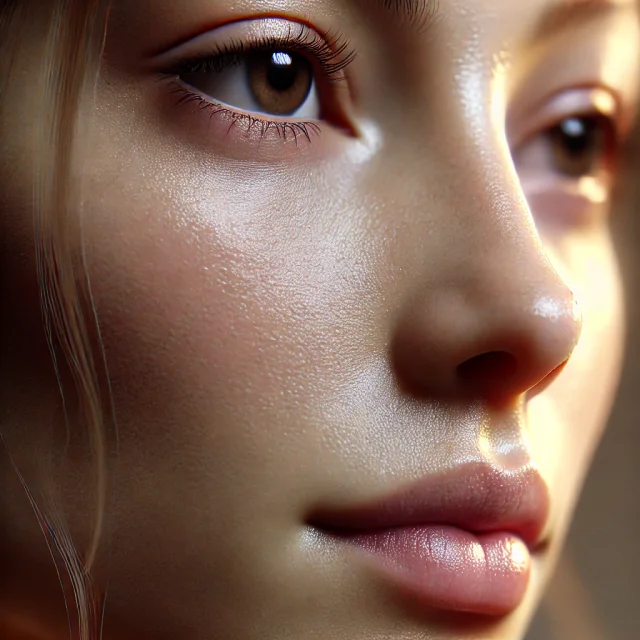
- Character Skin: Using the techniques described above, you can create incredibly realistic skin for your 3D character. By combining substance texturing for the base skin texture with normal maps for pores and wrinkles, you can achieve a detailed and natural-looking surface.
- Clothing and Accessories: Advanced texturing techniques are not only applicable to skin but also to clothing and accessories. For example, texturing denim fabric can be accomplished using substance texturing for the base and normal maps for simulating seams and wear.
- Metals and Surfaces: For creating realistic metallic surfaces, use a combination of reflection maps and normal maps. This allows you to achieve effects of highlights and small irregularities, making the metal appear more realistic.
Settings and Tools
An important aspect of advanced texturing is the use of the correct settings and tools. DAZ Studio and Poser offer many possibilities for setting up materials.
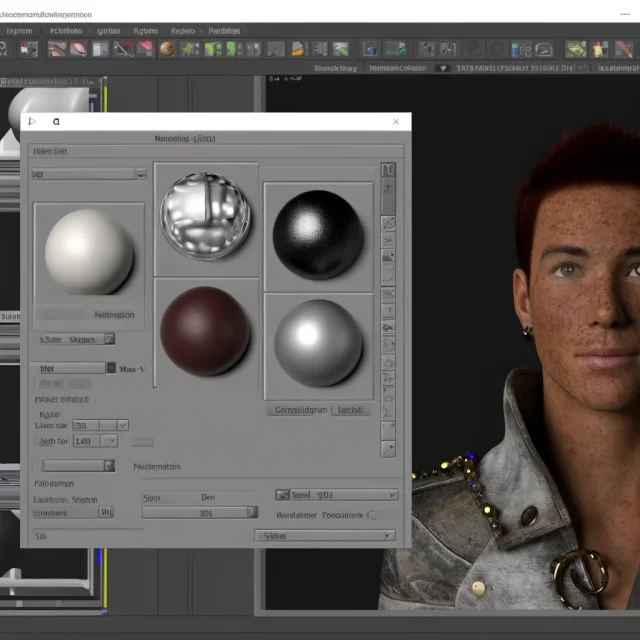
- DAZ Studio: In DAZ Studio, use tools like the Iray Uber Shader, which allows you to configure a wide range of parameters for materials. You can adjust parameters such as Glossiness, Refraction, and Subsurface Scattering to achieve the desired effect.
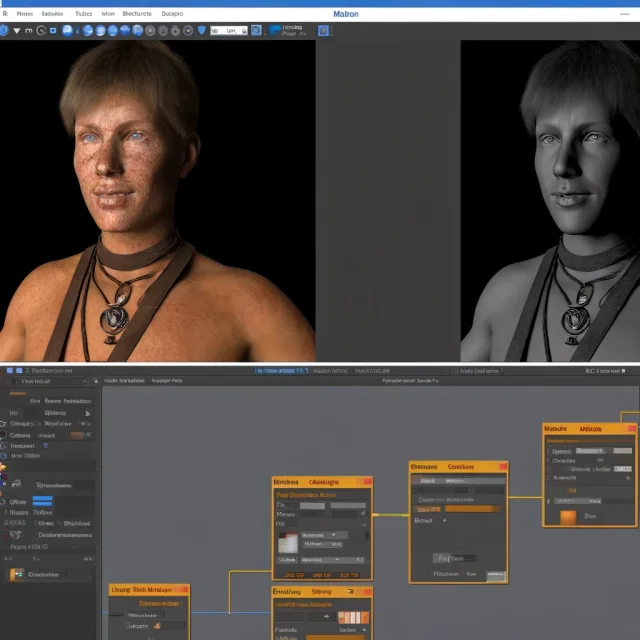
- Poser: In Poser, use the Material Room to configure textures and materials. Pay close attention to parameters like Specular, Bump, and Displacement, which determine the appearance of the surface.
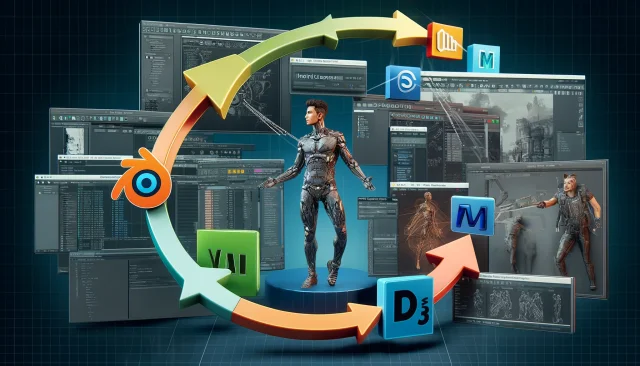
- Integration with Other Programs: Integration with programs like Substance Painter, ZBrush, and Blender significantly expands texturing possibilities. These programs offer advanced tools for creating and configuring textures, which can then be used in DAZ Studio and Poser.
Practical Applications and Workflow
- Workflow Example: A typical workflow might begin with modeling in DAZ Studio or Poser, followed by exporting the model to Substance Painter for detailed texturing. After completing the texturing, the textures are exported back to DAZ Studio or Poser for final adjustments and rendering.
- Texture Baking: For more complex scenes, consider using texture baking techniques. This involves creating detailed high-poly models and baking the texture information onto lower-poly versions. This is particularly useful for game assets and ensures that models remain optimized while retaining high detail.
- UV Mapping: Proper UV mapping is essential for advanced texturing. Ensure your models have clean and efficient UV maps to avoid issues like stretching or seams. Tools like UV Master in ZBrush can be invaluable for creating optimized UV layouts.
Advanced Tips and Tricks
- Layering Materials: In DAZ Studio, take advantage of the Layered Image Editor (LIE) to stack multiple textures and create more complex materials. This is especially useful for adding decals or blending different materials on the same surface.
- Custom Shaders: Experiment with custom shaders in DAZ Studio and Poser. Writing or modifying shaders can provide unique effects not achievable with standard tools. This requires some knowledge of shader programming but can greatly enhance the realism of your scenes.
- High-Resolution Textures: Use high-resolution textures to ensure detail is preserved, especially for close-up shots. Tools like Quixel Megascans offer high-quality textures that can be used to enhance your models significantly.
Conclusion
Advanced texturing techniques in DAZ Studio and Poser allow for the creation of highly detailed and realistic 3D characters. The use of substance texturing and normal maps plays a crucial role in this process, providing realism and complexity to textures. Adjusting parameters and using specialized tools enables impressive results, making your models more lifelike and expressive.
For more detailed exploration of these techniques and to get ready-made characters for DAZ Studio and Poser, visit our free download section. You can also find ready-made textures and Iray shaders for DAZ and Poser in our texture catalog.
Ctrl
Enter
Noticed a misTake
Highlight text and press Ctrl+EnterRelated news:
Integration of DAZ Studio and Poser with Other 3D Packages: Discussion of Import and Export Processes and Techniques
Analyzing Trends in Creating 3D Characters for Films and Video Games
Working with 3D Scans in DAZ Studio and Poser: A Detailed Guide to Importing and Using Real-World Scans

Top Character Animation Tools in 2024

Creating Photorealistic Portraits in DAZ Studio and Poser
Secrets of Photorealistic Skin Rendering in DAZ Studio and Poser: Achieving the "Lifelike Skin" Effect with Modern Shaders
Comments (0)