Cinematic Rendering Techniques in DAZ Studio: How to Set Up Framing and Post-Processing Scenes
Have you ever wondered why certain 3D renders seem to leap off the screen, evoking genuine emotions and immersing you in the story, while others look flat and unremarkable? The secret ingredient often lies in the same tricks used by cinema directors worldwide: careful framing, thoughtfully crafted lighting, and well-executed post-processing. In the universe of DAZ Studio, these cinematic techniques let you transform a static still into a vibrant narrative, brimming with atmosphere and emotional resonance.
In this guide, we’ll explore how to bring genuine cinematic flair into your DAZ Studio projects. We’ll discuss composition basics, lighting best practices, depth of field, color grading, and more—so that your renders don’t just catch the eye but truly tell a story.
Why the Cinematic Style Matters
Cinema is more than just images moving on a screen; it’s a language of moods and ideas. When we describe a shot as “cinematic,” we’re talking about an image that goes beyond surface-level aesthetics and delivers a distinct emotional charge. A well-framed shot conveys tension, serenity, excitement, or unease—often before any characters even speak.
In the 3D realm, adopting a cinematic approach means you’re not simply “placing objects” into a scene. You become the director, lighting technician, and colorist, orchestrating every element so that even a single rendered frame can captivate your audience. Whether your project involves fantasy warriors battling dragons, futuristic cityscapes, or an intimate portrait of a lone character in a dimly lit room, cinematic thinking ensures that your visuals resonate on a deeper level.
Step One: Understand the Basics of Composition
Before you even adjust lighting or fiddle with materials, composition should be your first priority. Composition is the subtle science of arranging objects and figures in a way that looks both harmonious and compelling.
The Rule of Thirds and the Golden Ratio
Two of the most well-known principles are the rule of thirds and the golden ratio. Turn on the grid in your DAZ Studio camera view (or simply imagine it) to align key subjects on the intersecting lines of the grid. This offset from the center generates a dynamic energy. The golden ratio goes one step further, giving you a more nuanced tool for balancing visual elements in a way that feels “naturally” appealing.
Playing with Perspective
The ability to alter focal length in DAZ Studio effectively puts a range of virtual lenses at your disposal. A wide-angle lens (short focal length) adds drama, stretching out the background and foreground to emphasize scale—perfect for epic landscapes or towering architecture. A long lens (telephoto) compresses the scene, giving a more intimate vibe, which works wonders for close-up portraits or claustrophobic settings. Even a 5–10 mm difference in focal length can profoundly change the emotion of your final image.
Step Two: Setting Up Lighting and HDRI
Light in 3D environments is the beating heart of your scene. It reveals form, sets the mood, and directs the viewer’s eye. DAZ Studio allows for a variety of lighting techniques—from classic three-point setups to advanced HDRI environments.
Three-Point Lighting
A staple of film, photography, and now 3D graphics, the three-point lighting system consists of:
- Key Light – The primary source, used to highlight the main subject.
- Fill Light – A secondary source that softens or “fills” in the shadows.
- Back Light – The light placed behind the subject to create depth and separation from the background.
Adjust the intensity, color temperature, and placement of these lights to craft everything from a bright and cheerful environment to a brooding, high-contrast noir scene.
Using HDRI
High Dynamic Range Imaging (HDRI) maps are panoramic images that capture a wide luminosity range. When set as your Environment Map in DAZ Studio, an HDRI provides realistic ambient light and reflections without the hassle of placing numerous individual lights. This is especially useful for outdoor or large interior scenes, where a single HDRI can simulate the complex interplay of light bouncing off surfaces.
If you’re looking for free options, be sure to check out our lighting presets and HDRI resources. We’ve gathered sets suitable for everything from bright seashores to industrial interiors, allowing you to experiment with a variety of atmospheric scenarios.
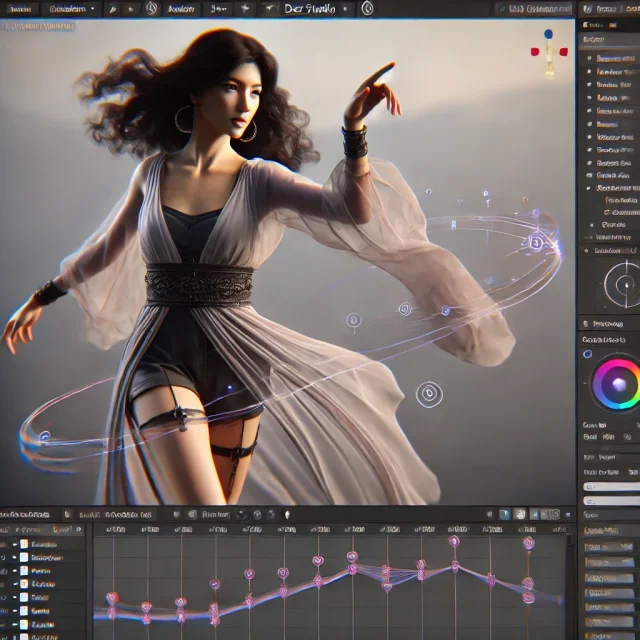
Step Three: Depth of Field (DOF)
Depth of Field is a cinematic mainstay—one that effortlessly draws your viewer’s eye to a specific part of the image. By keeping one element in razor-sharp focus while gently blurring the rest, you can guide attention exactly where you want it.
Creative Uses of DOF
DOF is often used for portraits, helping the subject pop against a soft background. Yet it has far more possibilities. You can mimic macro photography by exaggerating the blur so that even large objects feel miniature and quaint, or employ a selective focus on a small detail in the foreground to spark curiosity about the rest of the scene. In DAZ Studio, simply enable “Depth of Field” in your camera settings and adjust the Focal Distance and F/Stop parameters to dial in the perfect blur.
Step Four: Adjusting Framing
Framing is not only about where your subject sits within the image but also about the aspect ratio that underscores the story you’re trying to tell. Wide cinematic ratios like 2.35:1 or 2.39:1 instantly evoke the vibe of a feature film.
Creating Drama through Framing
While 16:9 is standard for modern screens, try experimenting with wider or more vertical formats to amplify certain emotions. A 21:9 ratio can make your scene feel expansive, giving breathing room for grand vistas. Just keep in mind that the fundamental rules of composition still hold; your subject’s positioning and interaction with negative space will make or break the shot.
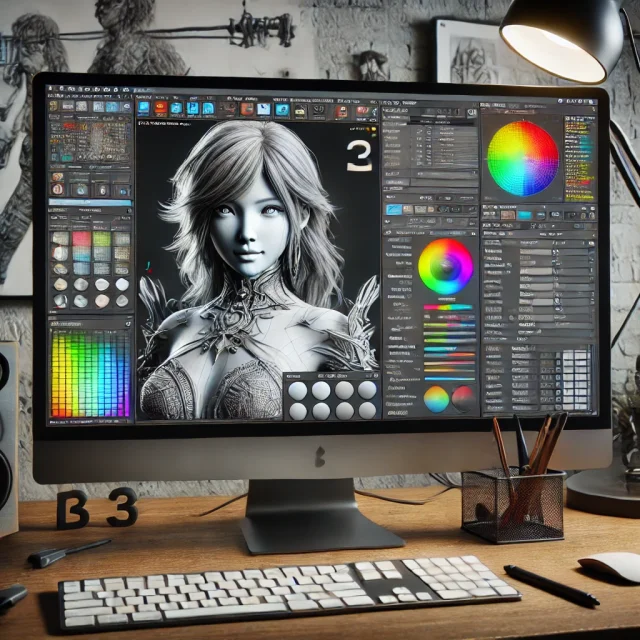
Step Five: Post-Processing in DAZ Studio and Beyond
Many cinematic flourishes, such as color grading, lens flares, and subtle glow effects, can be achieved either directly in DAZ Studio or with external editing tools like Photoshop, GIMP, or Krita. Post-processing isn’t a crutch—it’s a creative playground where you can finesse your render until it matches the movie in your mind.
Color Correction and Atmosphere
Color is closely tied to emotion. Warm yellows and oranges suggest safety and nostalgia, while cool blues and greens can bring to mind high-tech or otherworldly scenes. DAZ Studio supports LUTs (Look Up Tables) for quick color grading; however, many artists prefer fine-tuning curves, levels, and color balances in a dedicated image editor. Slight shifts in hue and saturation can completely recast the emotional tone of your piece, so feel free to experiment.
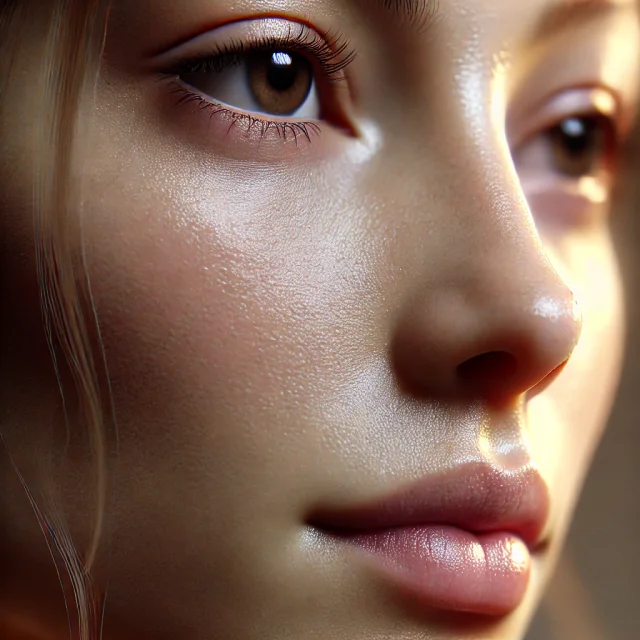
Bringing Out Details in Post
Even a well-lit render can look somewhat flat if you don’t pay attention to local contrast and detail. A gentle enhancement of highlights and shadows can bring out intricate surface textures, like fabric weave or skin pores, enhancing realism. You might also add a subtle vignette to focus attention toward the center or key subject. Too much post-processing can feel overdone, so aim for a tasteful balance that serves your scene.
Dust, Smoke, and Lens Flare Effects
A touch of atmospheric magic can elevate a good render to something unforgettable. Whether it’s dust particles drifting in a beam of light, a wisp of smoke curling in the background, or the faint glow of lens flare on a bright day, these details draw viewers deeper into the story. Some of these can be simulated with volumetric lights in DAZ Studio, though artists often find it more flexible to add them in post. The key is moderation: a little goes a long way.
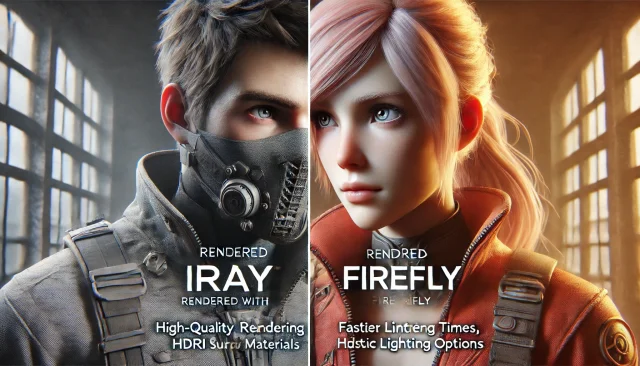
Technical Nuances: Rendering Speed and Optimization
As you add more cinematic layers—high-resolution textures, complex lighting, volumetric effects—your render times can skyrocket. While DAZ Studio’s native render engines (such as Iray) do a remarkable job, you may need to optimize your scenes to avoid endless waiting.
- Lower Resolution for Tests: Render at smaller sizes or fewer samples while you fine-tune lighting and composition, then switch to higher settings for the final.
- Simplify Materials: Remove unnecessary texture maps or reduce their resolution for secondary objects that aren’t front and center.
- Toggle DOF Off During Setup: Depth of Field calculations can slow preview rendering. Enable DOF only when you need to refine or finalize that effect.
- Keep Reflection and Refraction in Check: Glass and mirrors can add realism but also balloon your render time. Use them strategically.
- Render in Layers: Sometimes it’s faster to split the scene into different passes (background, characters, effects) and then combine them in post-production.
By following these tips, you can maintain the cinematic polish you’re after without grinding your workstation to a halt.
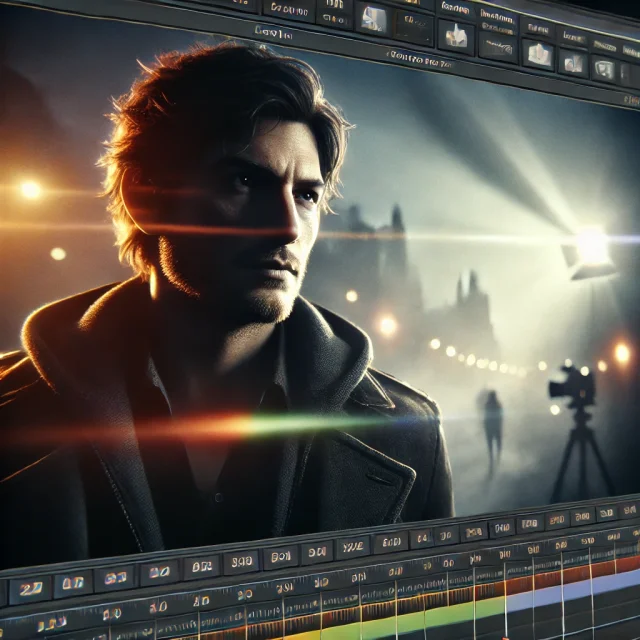
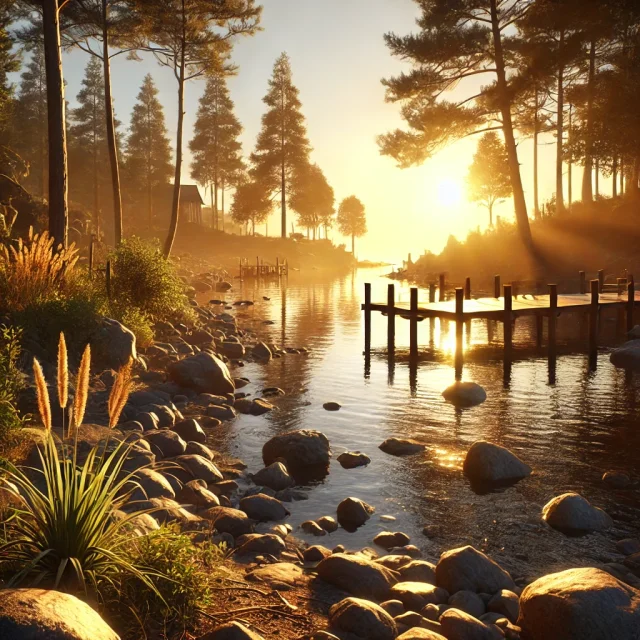
A Practical Example: From Idea to Final Image
Imagine you want to create a dark, neon-lit back alley scene in a dystopian city. You envision a lone figure standing in the drizzle, silhouetted by a flickering street lamp. Here’s how you might implement everything we’ve discussed:
- Framing: Opt for a 21:9 aspect ratio to reinforce the cinematic feel. Position the character along one of the vertical lines using the rule of thirds.
- Lighting: Use an HDRI with a nighttime urban panorama for general ambience, then add a bright Key Light off to the side to mimic a street lamp. Dim Fill Light keeps the shadows intense, while a subtle Back Light highlights the figure’s outline.
- Depth of Field: Focus tightly on the character, allowing the alley behind them to fade into a gentle blur. This directs attention to the protagonist’s silhouette and posture.
- Post-Processing: Tweak color grading to emphasize electric blues and pinkish neon tones. Add a mild glow to the streetlamp and consider a light drizzle effect or scattered droplets along the lens.
The outcome is a moody visual narrative—a frame that suggests a whole world of stories lurking in the shadows of that futuristic alley.
Where to Find Ready-Made Environment Assets
Constructing a complex environment from scratch can be time-consuming. Fortunately, DAZ Studio artists have access to ready-made backgrounds, complete scene setups, and detailed props. These allow you to jump directly into experimenting with lighting, camera angles, and post-processing tricks.
Take a look at our collection of ready-made environment locations designed for DAZ Studio and Poser. Whether you need post-apocalyptic ruins, cozy medieval taverns, or high-tech labs, these curated sets help you save time and concentrate on perfecting your story’s look and feel.

A Look Ahead: The Power of Cinematic Mindset
Working in 3D is an exhilarating journey that transforms you into a one-person film crew. DAZ Studio offers an expansive toolkit to realize your creative visions, but true cinematic impact depends on how boldly you use it. Remember that each element—composition, lighting, depth of field, color grading—represents a chance to ignite a spark of emotion in your viewers.
Don’t shy away from unconventional approaches. Try placing your main subject far off-center. Let shadows engulf half the frame. Go for a surreal color palette or an extreme angle that unsettles the viewer. Not every experiment will be an immediate success, but each attempt refines your instincts as both an artist and a storyteller.
When you embrace this cinematic mindset, you’re effectively writing a script in every scene you render. The result? A vivid image that resonates on an emotional level, not just a generic 3D asset. So dive in with confidence, keep exploring new methods, and watch as your renders graduate from static pictures to immersive narratives worthy of the big screen.
May your DAZ Studio creations continue to captivate hearts and spark imaginations—and may you never stop pushing the boundaries of what’s possible in the realm of 3D storytelling!
We would like to remind you that our site daz3dposerfree.com offers regular updates of 3D content for DAZ Studio and Poser - realistic characters and creatures, poses, clothes and accessories for them, textures and materials, morphs and add-ons and much more! Add the site to your bookmarks and come back often!
Ctrl
Enter
Noticed a misTake
Highlight text and press Ctrl+EnterRelated news:
Advanced Post-Processing Techniques for Renders in DAZ Studio and Poser
Creating Motion Animations: An In-depth Guide to Producing Smooth and Lifelike Movements in DAZ Studio

Creating and Adjusting Lighting for Atmospheric 3D Scenes in DAZ Studio and Poser
Using Iray and Firefly for Rendering in DAZ Studio and Poser
Creating Environments in DAZ Studio: How to Use HDRI and 3D Models to Build Atmospheric Scenes
Secrets of Photorealistic Skin Rendering in DAZ Studio and Poser: Achieving the "Lifelike Skin" Effect with Modern Shaders
Comments (0)