Advanced Post-Processing Techniques for Renders in DAZ Studio and Poser
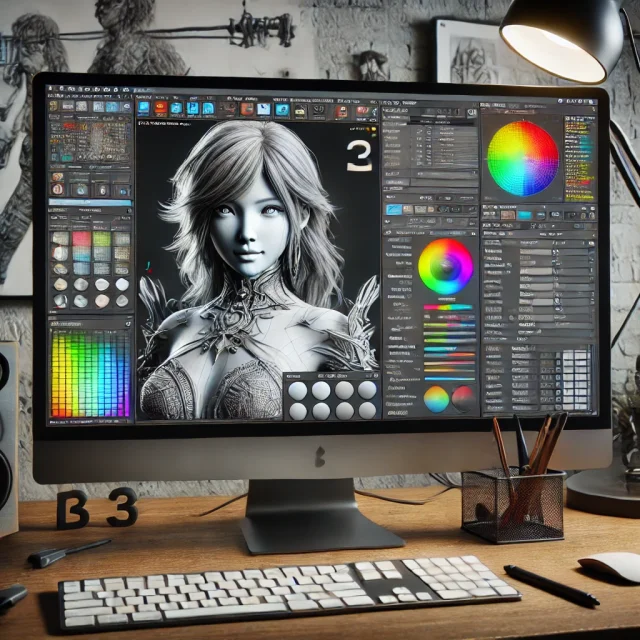
Post-processing is a crucial stage in creating high-quality images, allowing you to enhance the visual impact of a scene, highlight details, and make necessary adjustments. In DAZ Studio and Poser, post-processing becomes particularly important since renders may not always reach the desired level of realism directly from the render engines. This article delves into advanced post-processing techniques that will help you improve the quality of your images using color correction, adding effects, and retouching.
1. Color Correction and Tone Adjustment
The first step in post-processing is color correction. The main goal here is to fix lighting and color issues while establishing the desired mood for the scene. DAZ Studio and Poser offer built-in post-effects tools for initial tweaks, but deeper and more refined adjustments are best made using graphics editors like Adobe Photoshop or GIMP.
Key Color Correction Tools:
- Levels – Adjusts brightness and contrast. Use it to balance shadows and highlights.
- Curves – A more advanced alternative to Levels, allowing precise control over lighting and shadows.
- White Balance – Corrects color temperature, helping you achieve a natural or stylized look.
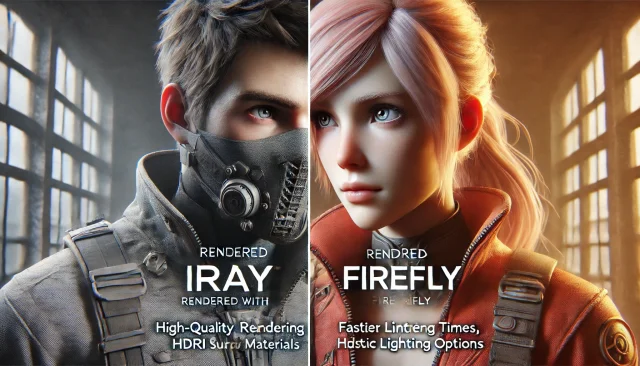
Begin color correction with subtle adjustments. For example, if the render is overexposed, especially in a brightly lit scene, you may need to darken the highlights using Levels or Curves. In Poser, especially when using the Firefly engine, images might appear "flat," which can be addressed by enhancing contrast.
Advanced Color Techniques
Beyond basic correction, advanced techniques like selective color adjustment and split toning can help achieve cinematic results. Selective color lets you enhance or mute specific colors, perfect for artistic renders where certain hues need to pop. Split toning allows you to tint shadows and highlights with different colors, adding a dramatic or vintage feel to the image.
2. Depth of Field and Motion Blur Effects
Depth of field (DoF) and motion blur are two powerful effects often used in cinematic renders to focus on key objects and convey a sense of movement. These can be partially implemented in DAZ Studio, but more control and flexibility can be achieved by using external tools in graphics editors.
Depth of Field (DoF)
In DAZ Studio and Poser, DoF is typically managed through camera settings. However, if the effect doesn't come out as intended, you can use a depth pass (a grayscale image that represents the distance of objects from the camera) during rendering. This depth pass can be used in Photoshop to apply a more precise blur effect, adjusting the focus according to the distance of objects within the scene.
Motion Blur
Motion blur adds dynamic energy to your render, ideal for scenes with fast-moving characters or objects. While DAZ Studio has basic motion blur options during rendering, better results can be achieved in post-processing using software like After Effects or Photoshop. By using motion masks, you can selectively blur moving parts of your image while keeping static objects sharp.
3. Retouching and Artifact Removal
Renders, especially those done with lower settings to save time, can often contain visual artifacts such as noise, aliasing ("jaggies"), or shadow issues. Retouching helps clean up these imperfections, resulting in a more polished final image.
Noise Reduction
Noise is one of the most common issues, especially in darker areas of the scene. In DAZ Studio, you can reduce noise by increasing the "Rendering Quality" parameter or allowing more iterations of the render. However, this increases render time. A more efficient approach might be to use specialized noise reduction software like Topaz DeNoise AI or built-in noise reduction filters in Photoshop.
Anti-Aliasing and Smoothing
Aliasing causes jagged edges on contrasting object borders. DAZ Studio and Poser have built-in anti-aliasing settings, but sometimes artifacts remain. In such cases, manual correction can be applied during post-processing. For example, slight edge blurring with Photoshop's Gaussian Blur tool can help smooth out unwanted jaggedness.
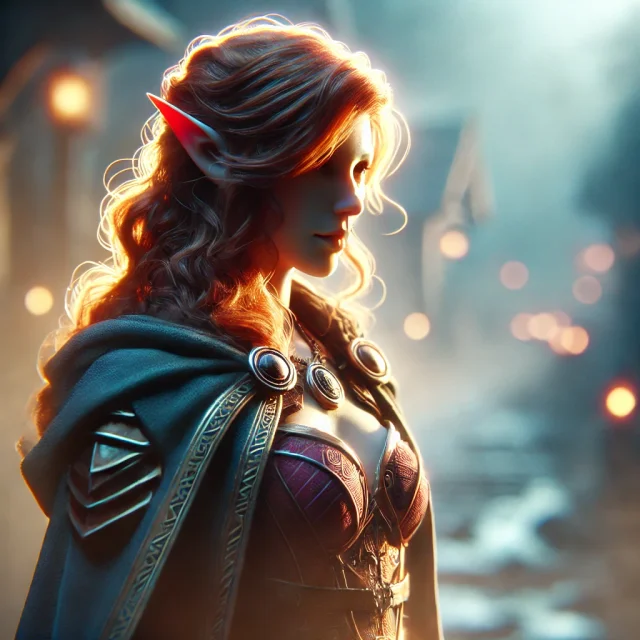
4. Adding Atmospheric and Lighting Effects
Atmospheric effects such as fog, smoke, flares, or light rays can be crucial in creating a captivating render. While DAZ Studio offers basic tools for atmospheric effects, adding these effects during post-processing often saves time and grants more control.
Lens Flare and Light Rays
Adding lens flares and light rays enhances the cinematic quality of your images, especially for scenes with strong directional lighting. Tools like the Lens Flare plugin in Photoshop or the built-in effects in After Effects allow you to create dramatic lighting effects that wouldn’t be possible directly from DAZ or Poser’s rendering engines.
Particle Effects
For scenes with magical or fantastical elements, particle effects such as smoke, fire, or sparkles can be added in post-processing. You can either use pre-made templates in After Effects or custom Photoshop brushes designed for particle effects.
Fog and Mist
DAZ Studio’s built-in volumetric fog settings can achieve some interesting results, but the real magic happens in post-processing. Photoshop or After Effects allow for more detailed fog and mist effects, letting you control density, placement, and even the color of atmospheric elements.
5. Shadow and Light Correction
Fine-tuning shadows and lighting in post-processing can significantly improve the balance of a scene and add realism to your render. In DAZ Studio and Poser, especially with Iray and Firefly engines, shadows might appear too soft or too harsh. Adjustments in post-processing can help fix these issues.
Refining Shadows
Use layer masks in Photoshop to select shadow areas, then darken or lighten them as necessary. This allows for more control over shadow intensity, making them softer for natural light or sharper for dramatic scenes. Additionally, using dodge and burn tools helps bring out texture in shadows and highlights.
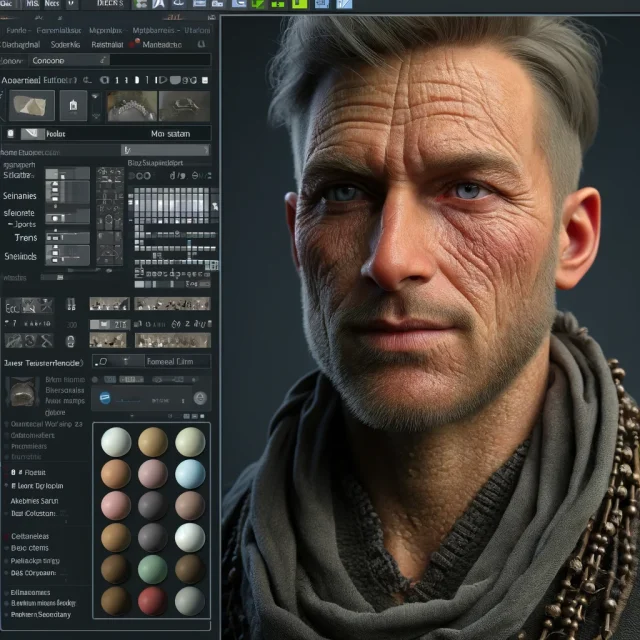
6. Final Retouching and Enhancing Details
The final stage of post-processing involves carefully examining the image for minor defects, adjusting the color balance, sharpening details, and ensuring the overall composition is flawless. Often, at this stage, filters are applied to give the image a stylized finish, such as film grain, vignetting, or vintage effects.
Vignetting
Vignetting helps focus attention on the central part of the image by darkening the edges. This technique is often used in portraiture and stylized renders. In Photoshop, it can be applied using the "Lens Correction" filter or manually through layer masks.
Sharpening Details
For final enhancement, a slight increase in sharpness can make your render pop, emphasizing fine details such as fabric textures or facial features. Be careful not to overdo it, as excessive sharpening can introduce unwanted artifacts or noise.
7. Color Grading for Artistic Effects
Color grading is more advanced than basic color correction, often applied to give the image a specific mood or artistic style. In cinematic renders, this technique is used to establish the emotional tone of the scene.
Filmic Look
To achieve a filmic look, you can emulate traditional film processes using LUTs (Look-Up Tables) or manual grading techniques. Tools like Photoshop’s "Color Lookup" adjustment layer allow you to experiment with pre-defined LUTs that replicate the appearance of classic film stocks.
Selective Color and Toning
By selectively adjusting the hue and saturation of specific colors, you can create striking contrasts that draw attention to key elements of the render. Split toning—adding a different color to shadows and highlights—creates a dramatic and sometimes surreal effect, commonly used in fantasy or sci-fi renders.
8. Conclusion: Finishing Your Render
Post-processing is a powerful tool that can take your renders from good to exceptional. By mastering color correction, depth of field, motion blur, shadow refinement, and artistic effects, you can ensure that your final image is polished and professional.
If you need ready-to-use lighting tools for DAZ Studio and Poser, you can download [free lighting presets, rendering studios, and HDRI collections](LINK) from our site. Additionally, don’t forget to check out our section with [free add-ons, modules, and plugins for DAZ Studio and Poser](LINK) to expand your creative possibilities.
Don't forget to add our site https://daz3dposerfree.com to your browser bookmarks - you can always download a ton of content for DAZ Studio and Poser for free here - characters, creatures, poses, clothing, morphs, props, environments and much more. Happy rendering!
Don't forget to add our site https://daz3dposerfree.com to your browser bookmarks - you can always download a ton of content for DAZ Studio and Poser for free here - characters, creatures, poses, clothing, morphs, props, environments and much more. Happy rendering!
Ctrl
Enter
Noticed a misTake
Highlight text and press Ctrl+EnterRelated news:

Creating and Adjusting Lighting for Atmospheric 3D Scenes in DAZ Studio and Poser

Creating Photorealistic Portraits in DAZ Studio and Poser
Using Iray and Firefly for Rendering in DAZ Studio and Poser
Advanced Texturing Techniques in DAZ Studio and Poser

How to create environments for 3D scenes in DAZ Studio and Poser: general guidelines
Creating Environments in DAZ Studio: How to Use HDRI and 3D Models to Build Atmospheric Scenes
Comments (0)