Working with 3D Scans in DAZ Studio and Poser: A Detailed Guide to Importing and Using Real-World Scans
3D scanning technology has revolutionized the world of digital modeling, offering unprecedented levels of realism by capturing real-world objects and people. Integrating these 3D scans into DAZ Studio and Poser allows creators to bring a new dimension of authenticity to their scenes, from characters to props and entire environments. However, importing and adapting these scans for use in 3D scenes and animations involves a series of technical processes that require attention to detail. This article will explore how to import 3D scans, optimize them for use in DAZ Studio and Poser, and make them animation-ready.
Importing 3D Scans into DAZ Studio and Poser
The first step in working with 3D scans is to import the scanned model into your software of choice. Both DAZ Studio and Poser support widely-used formats like OBJ, FBX, and STL, with OBJ being the most common format due to its broad compatibility and versatility.
Importing into DAZ Studio
To import a 3D scan into DAZ Studio, follow these steps:
- Open DAZ Studio and navigate to *File* -> *Import*.
- Select your 3D scan in OBJ or another compatible format.
- In the import options, configure settings such as scale, axis orientation, and any attached texture maps that come with the scan. It's best to use the default settings initially and make further adjustments as needed after the model is in the scene.
DAZ Studio provides excellent tools for working with various file formats, ensuring the 3D scan appears correctly aligned in your project. You can further refine the mesh, textures, and shaders within the software.
Importing into Poser
Poser users can follow a similar process:
- Go to *File* -> *Import* -> *Wavefront OBJ* (or the format your scan uses).
- Configure scale, orientation, and other options such as normals and smoothing, depending on the complexity of the object.
One of the critical aspects of importing into Poser is ensuring that the object fits well with the environment's scale, as mismatched scales between assets can lead to significant workflow issues. Poser allows you to tweak these settings as you import to ensure a seamless fit within your scene.
Adapting 3D Scans for Use in Scenes
Once imported, 3D scans typically require optimization to ensure they are suitable for use in your scenes and animations. These models can be very high-poly, and without proper adjustments, they can cause performance issues during rendering or when adding other assets to the scene.
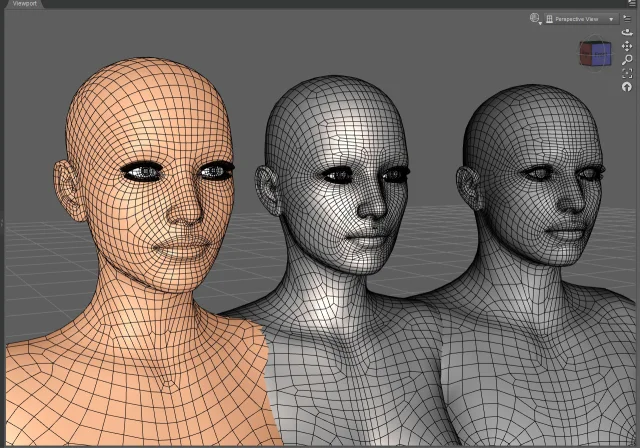
Mesh Optimization
3D scans often come with an incredibly high polygon count, sometimes in the millions, depending on the level of detail. This can be a double-edged sword: while it offers highly detailed models, it can slow down rendering and make working with scenes cumbersome. Both DAZ Studio and Poser offer tools to simplify the mesh without sacrificing too much detail.
In DAZ Studio, you can use the *Decimator* tool for mesh optimization:
- Open the *Decimator* pane from the *Tools* menu.
- Adjust the polygon reduction sliders to decrease the mesh’s complexity. Keep an eye on the preview to ensure you're not losing important details.
- Once satisfied, apply the changes to maintain a balance between performance and detail.
In Poser, you can achieve similar results with built-in tools that reduce the polygon count and optimize the model’s structure for animation or rendering. These tools allow you to smooth out excess detail and remove unnecessary geometry.
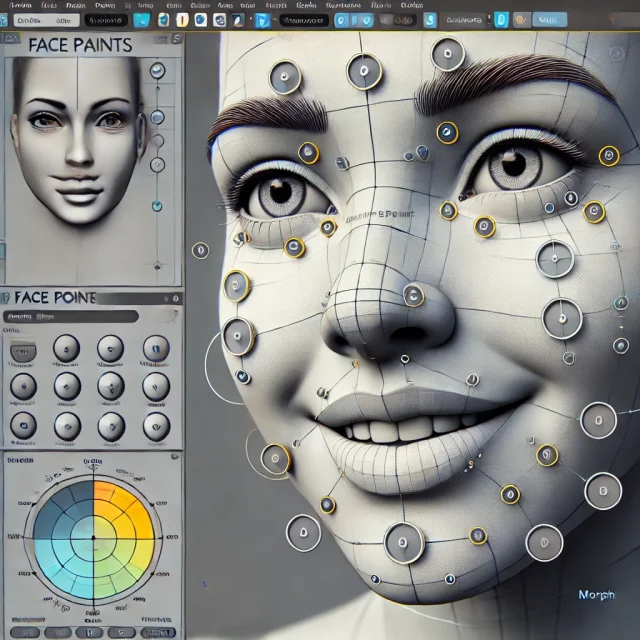
Texture Mapping and Material Setup
Texture mapping is another critical aspect of working with 3D scans. High-quality 3D scans come with detailed texture maps, including diffuse, normal, and sometimes specular or displacement maps. Properly applying these textures can greatly enhance the realism of your model.
In DAZ Studio, you can use the *Surfaces* pane to edit and apply textures:
- Navigate to the *Surfaces* pane and select the relevant material zones on your model.
- Load the appropriate texture maps (diffuse, bump, normal, specular) into their respective slots.
- You can further enhance the textures by applying advanced shaders like *Iray Uber Shader*, which offers better reflections, lighting interactions, and overall material fidelity.
Poser also supports detailed texture management through its material room. Using Poser’s built-in shaders and procedural textures, you can refine the look of your model to match the desired level of realism.
Preparing 3D Scans for Animation
One of the most challenging tasks is preparing 3D scans for animation, especially when the scans are of human characters or animals. Most 3D scans do not come rigged, meaning they lack a skeletal structure necessary for posing and animation. However, both DAZ Studio and Poser provide tools to rig the models, making them animation-ready.
Rigging in DAZ Studio
To rig a 3D scan in DAZ Studio, you will need to create a skeleton (rig) for your model. This can be done manually or by transferring an existing skeleton from another model.
- Use the *Joint Editor Tool* to create bones for your character. Start by placing the primary bones (spine, legs, arms) and adjust their placement and size.
- Once the bones are in place, use the *Weight Mapping* feature to define how the mesh deforms when the bones move. This step is crucial for creating smooth and natural animations.
- For easier rigging, you can use the *Transfer Utility* to copy a rig from a similar model, saving you time and ensuring compatibility with pre-existing animation libraries.
Rigging in Poser
In Poser, the rigging process takes place in the *Setup Room*, where you can create bones and apply them to the mesh. The process is similar to DAZ Studio, but Poser also allows for the use of predefined rigging setups for standard characters, making it easier to animate humanoid figures.
Once rigged, you can apply pre-made animations or create your own within both DAZ Studio and Poser, allowing for dynamic character interactions in complex scenes.
Optimizing and Rendering 3D Scans
After rigging and optimizing your 3D scan, the next step is to integrate it into your scene and render the final output. Rendering is a crucial step, as it brings out the fine details in both the mesh and textures.
In DAZ Studio, using the *Iray* rendering engine can produce stunning, photorealistic results:
- Set up lighting to interact naturally with the textures. You can use *HDRI* images or individual light sources to control the lighting environment.
- Apply post-processing effects such as depth of field or bloom to enhance the final output.
- Ensure that the texture maps, particularly normal and specular maps, are properly calibrated for the lighting conditions in the scene.
In Poser, both the *Firefly* and *SuperFly* render engines offer great flexibility, with *SuperFly* being the more modern, physically-based renderer. Use it for scenes that require realistic lighting and materials, similar to DAZ Studio’s Iray engine.
Conclusion: Expanding Your 3D Library
Working with 3D scans in DAZ Studio and Poser allows creators to achieve an unparalleled level of realism. By carefully importing, optimizing, and rigging these models, you can bring real-world objects and characters into your digital environments with precision and detail. Whether for animation or static scenes, these scans open up new creative possibilities.
If you're looking for ready-made 3D characters to enhance your projects in DAZ Studio or Poser, feel free to download them for free from our dedicated section. Don't forget to add a link to our DAZ-Poser free site to your browser bookmarks - we have regularly updated content and you can always download new characters, creatures, clothes, props, environments, poses, addons and much more for free!
Ctrl
Enter
Noticed a misTake
Highlight text and press Ctrl+EnterRelated news:
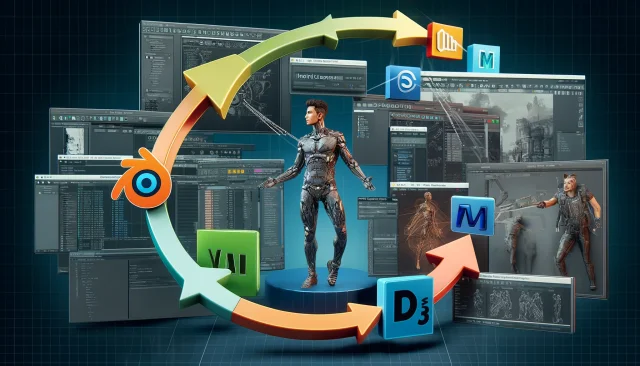
Integration of DAZ Studio and Poser with Other 3D Packages: Discussion of Import and Export Processes and Techniques
Analyzing Trends in Creating 3D Characters for Films and Video Games

Top Character Animation Tools in 2024
Creating Motion and Emotion Animations for 3D Characters in DAZ Studio and Poser

How to create environments for 3D scenes in DAZ Studio and Poser: general guidelines
Advanced Texturing Techniques in DAZ Studio and Poser
Comments (0)