
The Hidden Cost of Perfect Skin: Designing Micro-Imperfections for Believable DAZ and Poser Characters
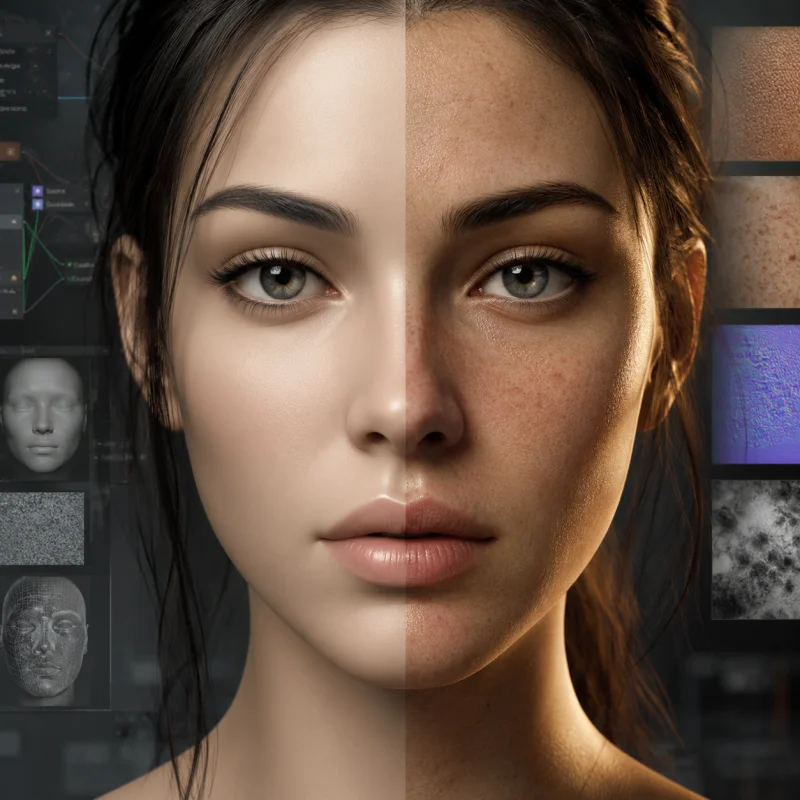
I once spent an evening “fixing” a portrait that was already working. The eyes had weight, the expression felt quiet rather than posed, and a side light moved beautifully across the cheek. Then I zoomed in, saw several rough patches in the skin shader and cleaned them up.
The next render was smoother. It was also dead. The face looked as if someone had sealed it under clear plastic.
That is the hidden cost of perfect skin in DAZ Studio and Poser. Perfection removes evidence: uneven circulation, a dry area near the mouth, pores changing size around the nose, a slight mismatch between face and neck. Flawless skin may look expensive, but it rarely looks lived in.
The problem becomes especially obvious when you compare several figures side by side. Artists who need a stronger base for portrait work can explore free characters for DAZ Studio and Poser, but even a beautifully sculpted figure will feel artificial when its skin behaves like one perfectly uniform material.
Skin Is Not One Obedient Surface
A character can have detailed maps and carefully tuned subsurface scattering, yet still feel artificial. Uniformity is often the reason.
The forehead catches light differently from the cheeks. The nose may be a little oilier. Skin below the eyes is thinner and can appear cooler. Lips have their own microstructure. Give every region the same pore depth and specular response, and the face starts to resemble a painted shell.
Before adding freckles or scars, look at the reflection. Put a large light to one side of the face. If the highlight travels over the forehead, nose and cheek as one clean ribbon, the roughness map is too obedient. Real skin interrupts that ribbon.
A practical setup can include:
- broad roughness changes for oily and dry zones;
- medium breakup around the nose, chin and forehead;
- fine noise that disturbs highlights without looking like sand;
- separate masks for lips, eyelids and ears.
Keep the contrast restrained. Heavy black-and-white roughness creates wet islands beside chalky patches. A better result usually comes from combining several weak layers, each working at a different scale.
Pores Need an Address
A generic pore texture tiled across the whole head is easy to spot. Pores near the nose are usually more visible than those at the temples. Eyelids need softer treatment. Lips are not facial skin painted red.
Scale causes just as much trouble. I have seen good DAZ characters where every pore looked large enough to catch a fingernail. The detail belonged to another scale.
Judge the surface at the final camera distance, then check it after depth of field and resizing. A bump map that feels subtle in the viewport may become harsh after sharpening. Use the normal map for stable pore structure and a lighter bump layer for adjustable fine detail. Save displacement for deeper wrinkles or raised marks.
This is where many close-up renders fall apart. The artist works at maximum zoom, likes what is visible there, and forgets that the final image will be viewed at a fraction of that size. Fine pores disappear. Overpowered bump does not. It survives as grit.
You do not always need to build every map from scratch. The textures and materials section for DAZ and Poser can be useful when searching for skin bases, shader presets and surface details that can be adjusted for a particular character rather than used unchanged.
Color Variation Should Whisper
Human skin contains quiet shifts that often disappear during texture cleanup. The nose may carry mild redness. The jaw can be cooler. Cheeks may hold a little warmth, while the area below the lower lip looks slightly darker.
I prefer to work at three scales:
- Large, soft differences across the face and neck.
- Medium details such as freckles, faded spots and old blemish marks.
- Tiny broken patches that stop the base color from feeling airbrushed.
Do not scatter dots with a random brush and call it realism. Sun exposure, age, friction and facial anatomy influence where marks collect. Three carefully placed imperfections can say more than three hundred identical freckles.
Symmetry deserves the same suspicion. One cheek may be slightly redder. A crease can sit deeper near one eye. Some marks should affect color, others roughness, and a few both. Otherwise they begin to resemble makeup.
This does not mean covering a young character with dramatic scars and heavy pigmentation. Micro-imperfections work best when they stay almost invisible. You notice the person first. The texture work only explains why that person feels convincing.
Hair also changes how skin color is perceived. A dark fringe can make the forehead appear warmer, while pale or brightly colored strands may expose mismatched tones around the hairline. Suitable styles can be found among the hair assets available in this category, but always inspect the forehead, temples and scalp after applying a new hairstyle.
Do Not Let the Shader Erase the Work
Subsurface scattering gives skin softness, but too much of it washes away structure. Pores disappear, nostrils glow, ears become waxy and local contrast collapses. Artists often blame the texture maps while the shader is quietly flattening everything.
Test the material under several lights:
- warm backlight for thin tissue around the ears;
- neutral side light for pore scale and roughness;
- harder top light for repeated patterns and smooth patches.
A single HDRI is not enough for reliable material testing. It may hide roughness problems or place every important highlight on the wrong side of the face. Try a few simple studio arrangements before deciding that the skin is finished. The site’s DAZ and Poser lighting resources can provide useful starting points for checking portraits under softer, harder and more directional illumination.
The material must respect the shot. A close portrait can support delicate roughness variation; a full-body render cannot. Most micro-detail will vanish after resizing, while excessive bump remains as ugly noise. Adjustable controls are more useful than one “perfect” preset.
Shader utilities, morph helpers and other tools may also shorten the setup process. You can look through additional resources for DAZ Studio and Poser when a project needs more than standard figure and material presets.
After hours of work, the instinct is to polish every mark until nothing appears accidental. Resist it. A less even highlight or a calmer patch on one side is not a failure. Small inconsistencies are often the reason a DAZ or Poser character still feels present.
Perfect skin asks the viewer to admire the shader. Imperfect skin lets them forget the shader is there.
Ctrl
Enter
Noticed a misTake
Highlight text and press Ctrl+EnterRelated news:
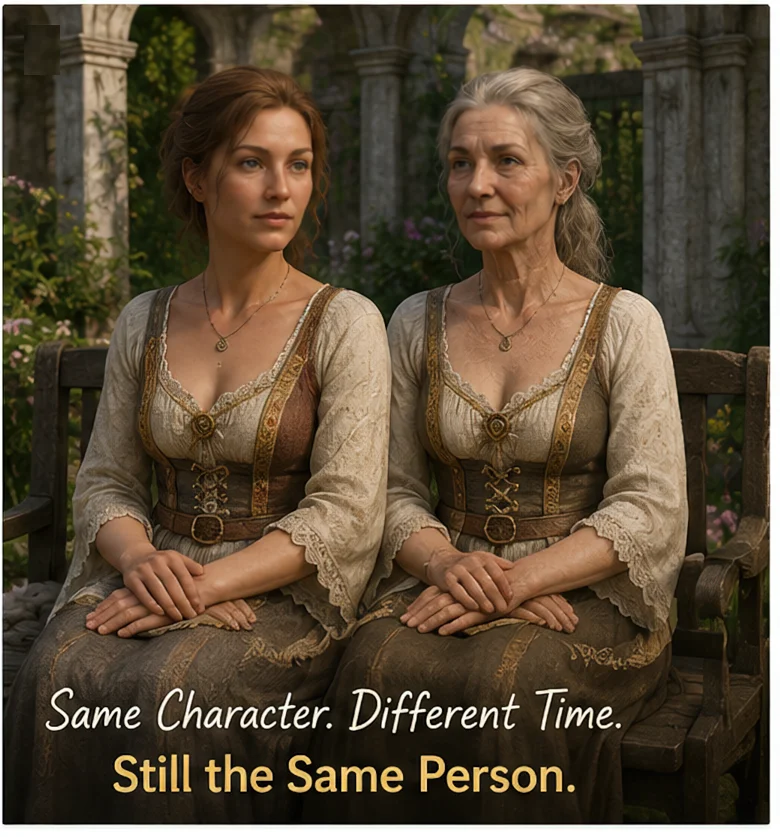
Can a Character Age Without Losing Their Identity? Building a Reversible Aging System in DAZ Studio
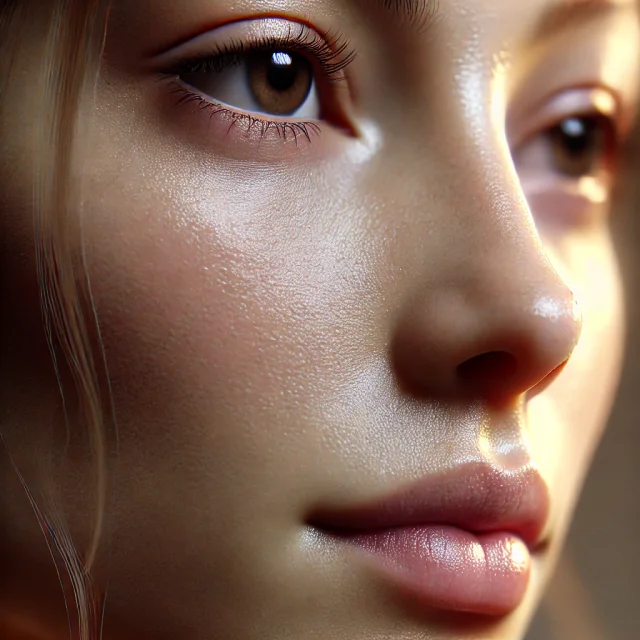
Secrets of Photorealistic Skin Rendering in DAZ Studio and Poser: Achieving the "Lifelike Skin" Effect with Modern Shaders

Creating Photorealistic Portraits in DAZ Studio and Poser
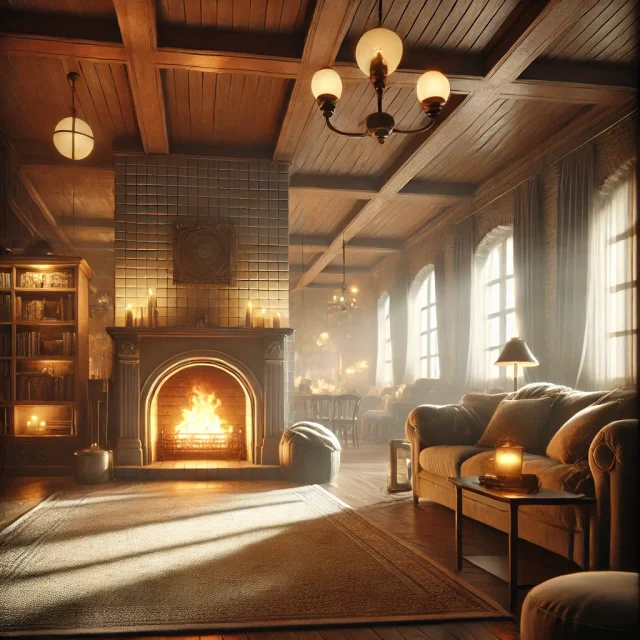
Creating and Adjusting Lighting for Atmospheric 3D Scenes in DAZ Studio and Poser

Analyzing Trends in Creating 3D Characters for Films and Video Games
Working with 3D Scans in DAZ Studio and Poser: A Detailed Guide to Importing and Using Real-World Scans
Comments (0)