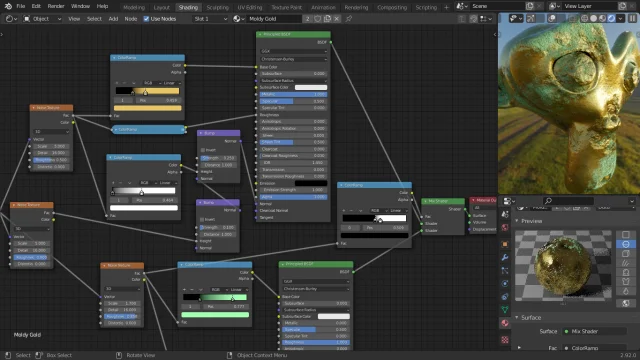
Blender shader nodes
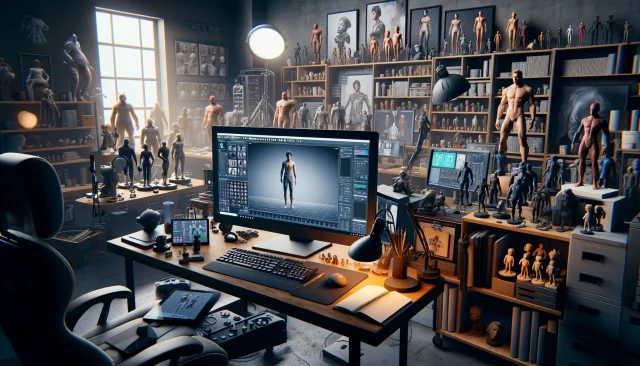
Very often, CG artists use Blender 3D and DAZ Studio software to build an efficient workflow to create interesting characters as well as other 3d objects for game and animation projects. If you are an active user of these applications, this article will certainly be useful to you.
Shader nodes in Blender. What are they for and where to look
Together with you we will consider the importance of this component of the Blender program. Shaders play an important role in rendering characters, scenes, etc.
Basics for Beginners
The Shader Node allows shaders with custom settings. The material is complex, so if you have not previously encountered practice in Blender, we advise you to first familiarize yourself with the basics.
Getting to know the nodes
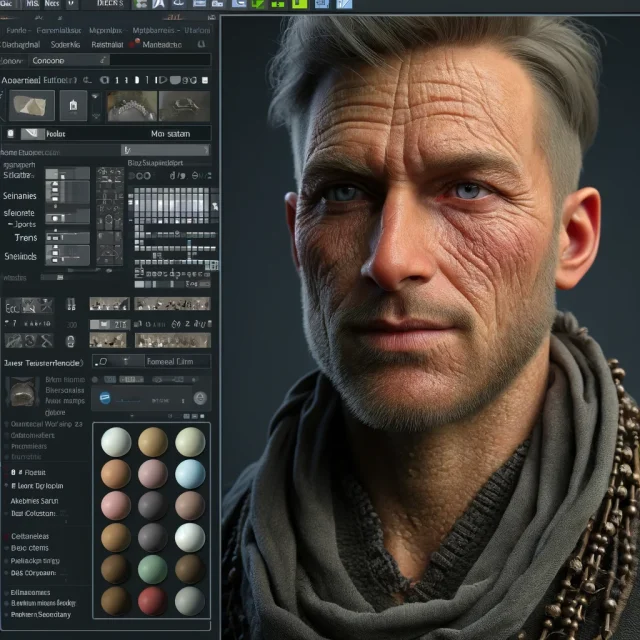
Open the Shader Editor window. The change window function is available in the upper right corner of the window you want to change. There will be two areas on the screen in front of you - the shading editor window and the preview window.
Blender shading work area
In the shader editor (at the bottom of the workspace) two nodes are visible. If this is not the case, create any material for the object that is in the center of the viewport.
Nodes are the fundamental BSDF shader. The material outlet is the main unit of the installation. The node associated with the material output is the output that is visible in the viewport. If this connection is removed, then the object has no material at all. Adding nodes is very simple - the
"Add" button is at the top of the shader editor. To delete, select an object and click “Delete”.
To connect nodes, we draw a connection between input and output data (located on the right and left sides of the work area).
Available functions for working with shaders
Mixing
We select our nodes and use the “Mix Shaders” menu item - now they are mixed and information about them will be displayed as about a single object. This node has two green inputs and one output. The "Fac" option in the material shader determines which of the two associated shaders to show more. The default is 50/50. Here you change it for any info.
Adding Textures
We will also need the “Add” menu. There are a huge variety of textures available. After using each, view the result - this is the only way to familiarize yourself with the features of each. Let's try the Noise texture. For convenience, we recommend using an intermediate shader. Spheres are more suitable for improved texture display than cubes.
Any texture node has a black and white version. This is main point for working with materials and maps. Why? Because, Roughness Map, Metal Map, Specular Map and other textures are black and white. White is equal to 0, and black is equal to 1. Connect Fac with the roughness value of the Principal BSDF and see what happens:
The white parts of the picture became reflective, and the black parts of the picture became rough. In places where white and black are combined - a combination of the first and second options.
This applies to almost all presented textures. It is possible to set one texture as the main color, another for reflection, a third for roughness, and so on.
I would like to remind you that our site offers a huge selection of free content for DAZ Studio and Poser:
Characters - link
Creatures - link
Collections - link
Environment models - link
Lighting - link
Addons and Resources - link
And much, much more. We regularly update our archive, you can download everything without registration.
Characters - link
Creatures - link
Collections - link
Environment models - link
Lighting - link
Addons and Resources - link
And much, much more. We regularly update our archive, you can download everything without registration.
Ctrl
Enter
Noticed a misTake
Highlight text and press Ctrl+EnterRelated news:

Top Character Animation Tools in 2024
Analyzing Trends in Creating 3D Characters for Films and Video Games

Creating and Adjusting Lighting for Atmospheric 3D Scenes in DAZ Studio and Poser
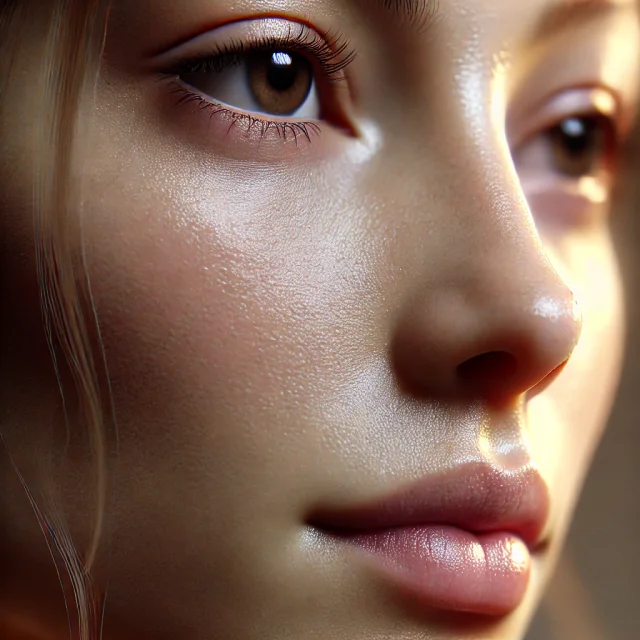
Secrets of Photorealistic Skin Rendering in DAZ Studio and Poser: Achieving the "Lifelike Skin" Effect with Modern Shaders
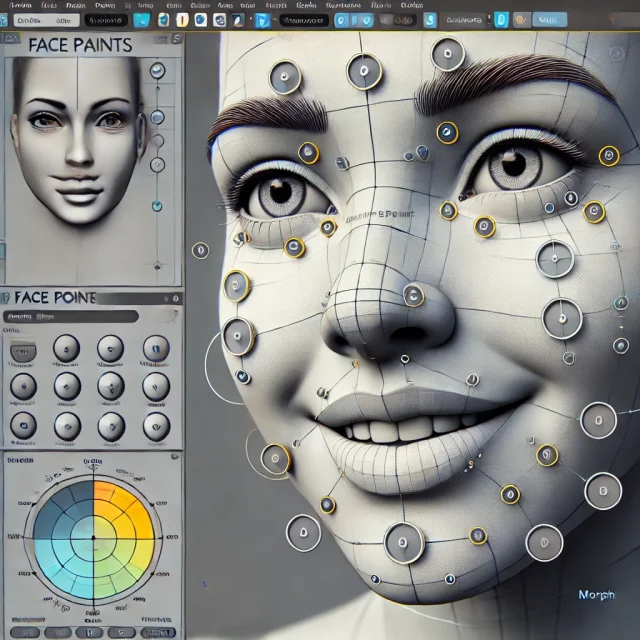
Creating Motion and Emotion Animations for 3D Characters in DAZ Studio and Poser
Advanced Texturing Techniques in DAZ Studio and Poser
Comments (0)