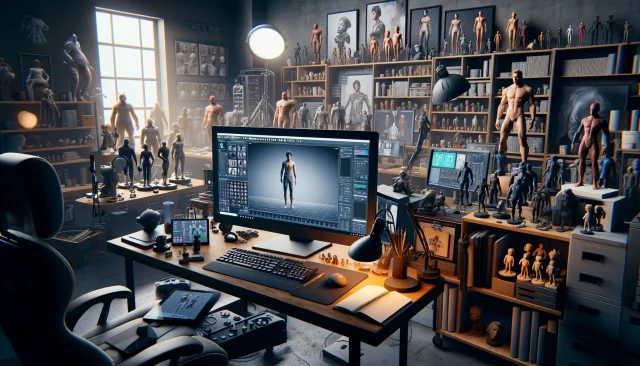
Creating a 3D character from scratch

Creating a 3D character is a lot of fun. It is the best way to express your creative side.
Read on and we'll explain the steps involved.
Concept art analysis
Concept art is the most important thing. This is where it all starts.
Typically, 3D designers are given a finished concept by a 2D artist and work from there.
At this stage it is necessary to assess how realistic it is to realise the idea at all (taking into account all technical limitations and requirements).
Note that it is often necessary to find a compromise one way or another.
The analysis of concept art includes the study of the gender of the hero, his figure, belonging to a particular fantasy race. Details such as clothing elements, weapons and appearance characteristics are then taken into account.
At the end of the process, the 3D artist is left with a set of data that will be used to create and refine the model.
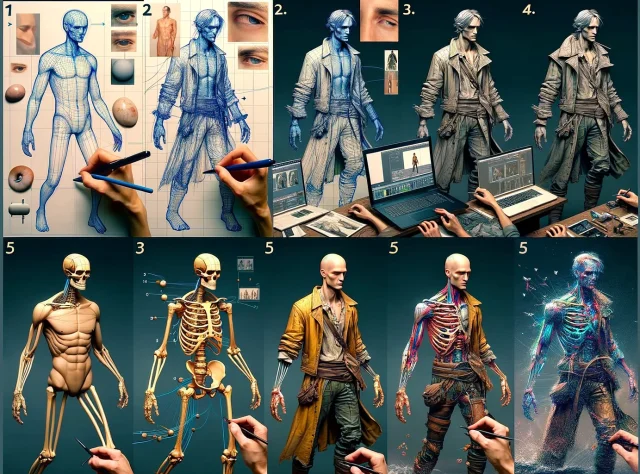
Model blockout
And then comes the blockout.
What is this?
Well, it's also the first stage, only it's the first stage of character creation.
It starts with primitive geometric shapes: a circle is used to form the head, and rectangles are used to form other parts of the body. Blockout is used to mark out the proportions and relationships between the parts of the character. It saves resources.
Sculpting
After blockout, the most interesting part of the process begins - sculpting. At this stage, all the key shapes and details of the model are worked out. It's important to have a good understanding of anatomy so you don't make any mistakes with the proportions, shapes and positioning of body parts. The work includes preparing transitions, smoothing sharp edges, detailing obvious parts (abdominals, breasts and so on).
Repotology
Repotology is the process of reducing the number of polygons.
Usually you need to reduce about 50-60 thousand polygons so that the character can be easily optimised in the game (of course, if it will be used that way at all - if it is a design project, it is better not to touch anything and leave the hi-poly model).
UV unwrapping
UV unwrapping is the process of cutting the model into pieces for translation to a 2D plane.
This is necessary for the application. Otherwise it simply won't understand how to interact with the object.
UV unwrapping is based on a low-polygon model (that's what we did in the previous point!). A plane is created from the model and then textures are applied to it.
Baking
Baking is the process of transferring detail from a high detail model to a low detail model. There is really nothing to add here. Except that baking makes real-time rendering much easier.
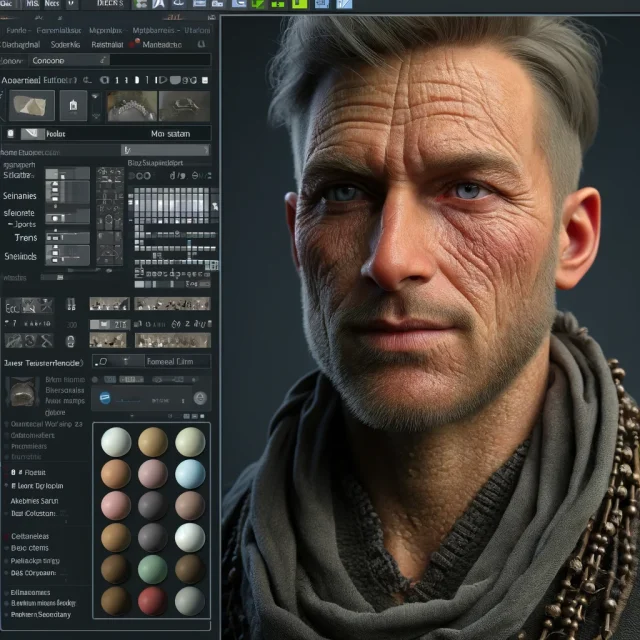
Texturing the character
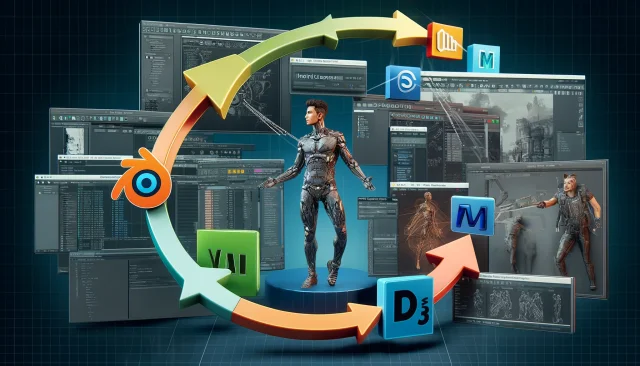
The final step is to apply textures to the resulting model. You can find these textures on our website and download them for free. We also have other content such as bundles, characters (go link), poses and even plugins that will make your work in 3D tools such as Poser and Daz Studio much easier.
Once you've created your character, it's time to use it in specialist programmes (if you want to!) to create impressive content.
Ctrl
Enter
Noticed a misTake
Highlight text and press Ctrl+EnterRelated news:
Analyzing Trends in Creating 3D Characters for Films and Video Games

How to create environments for 3D scenes in DAZ Studio and Poser: general guidelines

Creating Photorealistic Portraits in DAZ Studio and Poser
Integration of DAZ Studio and Poser with Other 3D Packages: Discussion of Import and Export Processes and Techniques
Comprehensive Guide to Creating Realistic 3D Characters
Advanced Texturing Techniques in DAZ Studio and Poser
Comments (0)