Working with the Blender camera
The position of the camera in the scene is of great importance in any shooting. The appearance of the scene and the emotions it should convey to the viewer depend on this.
Camera Control Basics
Cameras are often moved using object transformation methods. The Move and Move tools are available for this.
Another method is to use shortcuts, i.e. control cameras directly from the overview using them. For beginners, this method will be unusual.
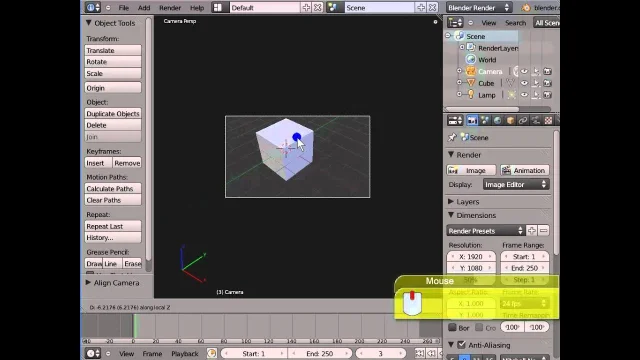
A convenient method has been developed especially for new users using the “Camera for viewing” option. This function is located to the right of the work field and opens when you press the N key. A red frame will appear around the camera icon - this is a sign that the mode is enabled.
Camera settings
The entire result and process of visualizing characters, settings, and the scene as a whole depends on the parameters. So let's start with the basics.
Output Properties tab in the Properties Editor - pay attention to Resolution (controls the size) and Aspect Ratio (controls camera rendering).
Render Region function
Effective for testing items. Select the object that you want to visualize and turn on this function. Only the selected area will be rendered separately from the rest of the scene. Convenient right?
Color Management Feature
Everything is clear here and the menu is approximately the same in similar programs.
Object Data Properties function
Allows you to control and assign indicators:
- field`s depth
- background images
- lenses
- And other elements
Let's talk about lenses
Lenses allow you to achieve high quality shooting at any distance, from different angles and perspectives. You just need to use the available lens options and the result is immediately available for viewing.
For example, the Perspective lens type allow to receive good result in creating a wide-angle view. And the Telephoto lens type allows you to shoot at long distances without zooming in.
Lens type "Orthographic"
Experienced users already remember, and you need to remember - when using this lens, all objects are the same size, regardless of the distance from the cameras. For our eyes, it will be unusual, strange, and unrealistic.
Panoramic lens type
Used to create panoramic views. The most popular effect of this lens is Fisheye. To view the result you need to shade the viewport using Cycles.
Try the other effects: Rectangle, Mirrorball - all the results are amazing.
Blender Camera Tracking
To track the desired character or object, just go to the camera properties and add the “Track to” restriction. Now, no matter how the object or camera moves, the tracking target will always be in the center of camera.
It is one more case when Empties are useful. Because instead of moving the camera around trying to create a good composition, you can create an Empty and place it where you want the center of your scene to be.
There are many more possibilities and effects of visualization. The program developers tried to make the unreal real.
Take it one step at a time and you can do anything. I hope you enjoyed the article. Now you can easily style your character's hairstyle. The main thing is that the basics of work are described in this article. We will study the creation of objects and characters, sculpting and much more. As you can see, Blender, Eevee, Poser are available for study. Use our resources for free and without registration.
Ctrl
Enter
Noticed a misTake
Highlight text and press Ctrl+EnterRelated news:
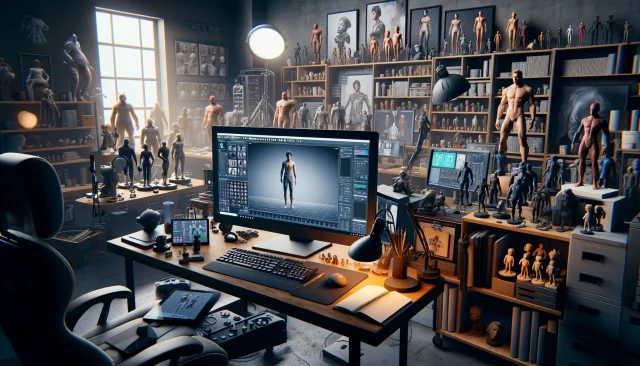
Analyzing Trends in Creating 3D Characters for Films and Video Games

Visualization of hairstyles in Blender

Creating and Adjusting Lighting for Atmospheric 3D Scenes in DAZ Studio and Poser
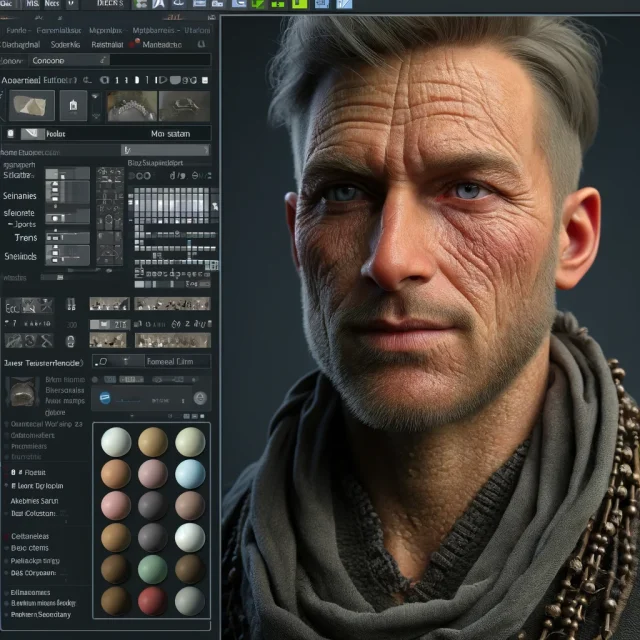
Advanced Texturing Techniques in DAZ Studio and Poser

Creating Photorealistic Portraits in DAZ Studio and Poser
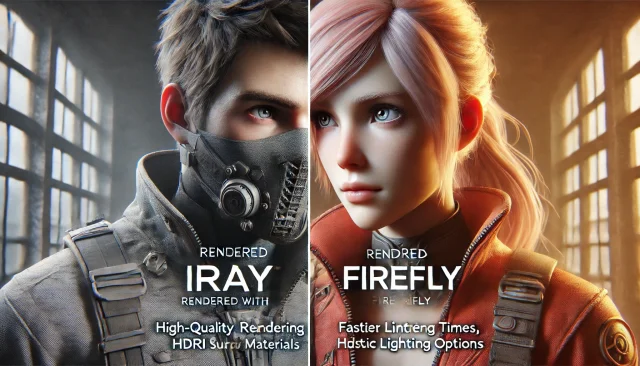
Using Iray and Firefly for Rendering in DAZ Studio and Poser
Comments (0)